Set Custom Domains Through Seed
Our serverless API uses API Gateway and it gives us some auto-generated endpoints. We would like to configure them to use a scheme like api.my-domain.com or something similar. This can take a few different steps through the AWS Console, but it is pretty straightforward to configure through Seed.
To start with, we need to purchase a domain on Amazon Route 53. If you have an existing domain not on AWS, follow these docs to move it over to Route 53.
Purchase a Domain with Route 53
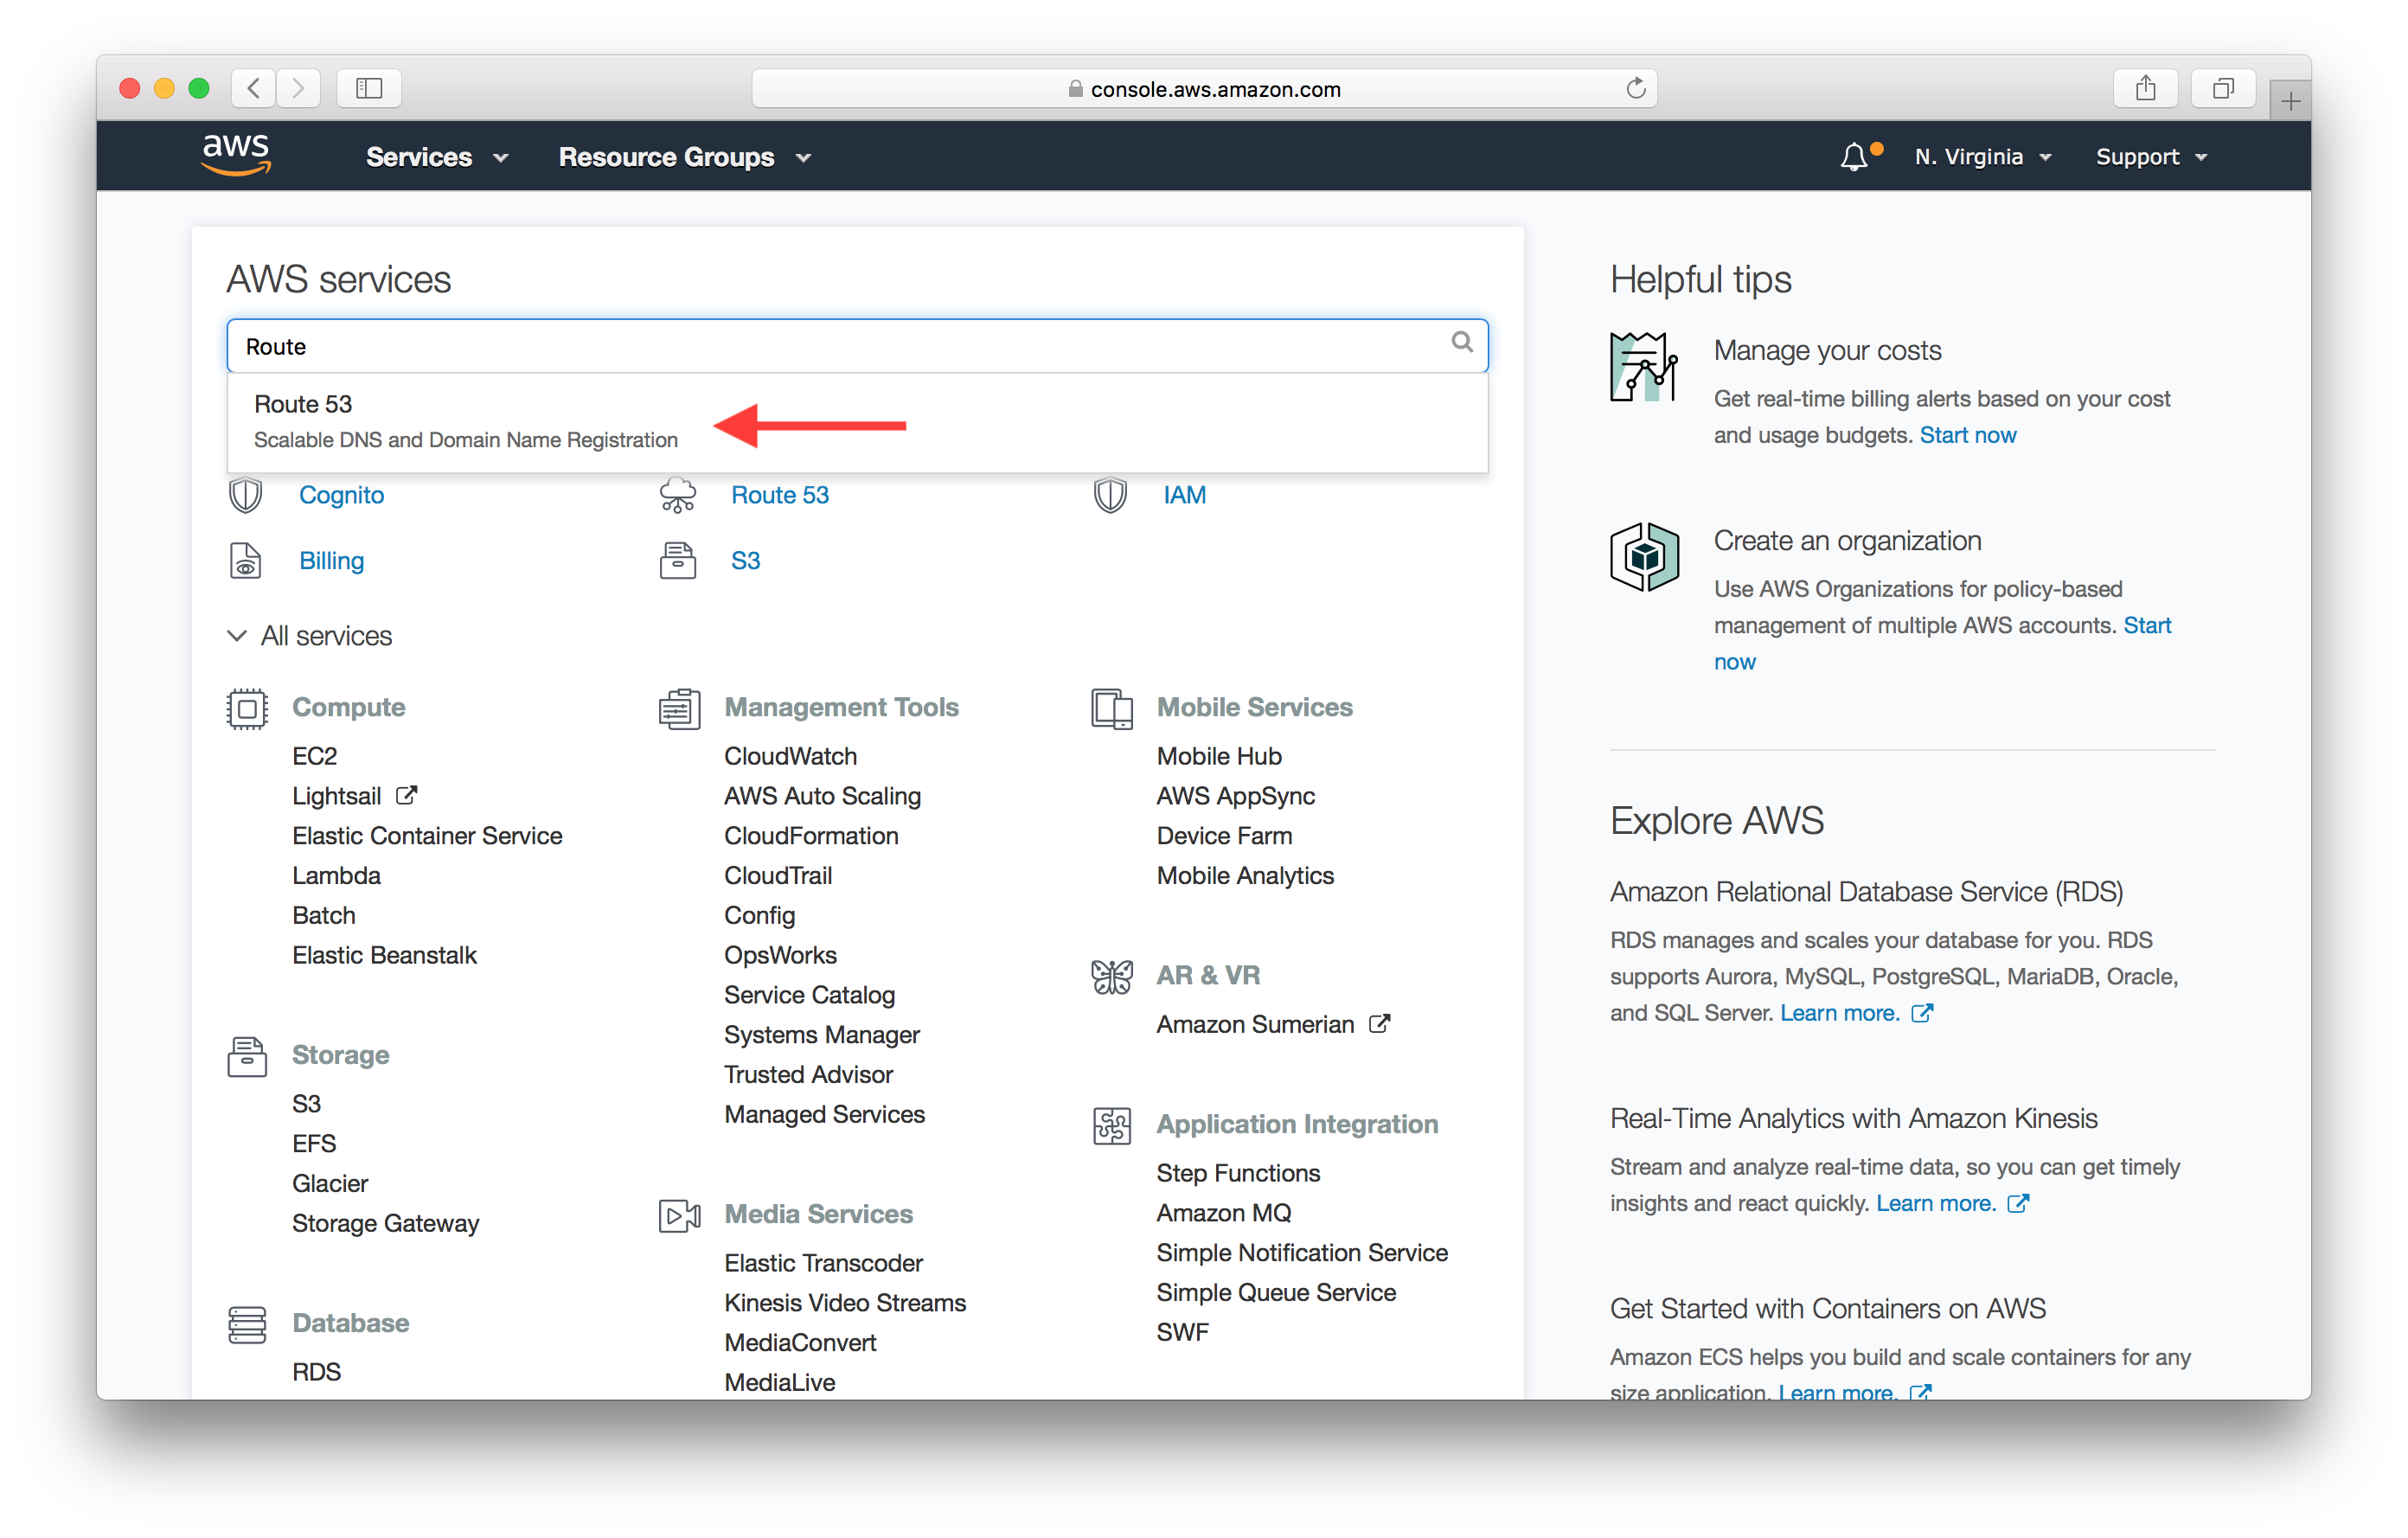
Head over to your AWS Console and select Route 53 in the list of services.
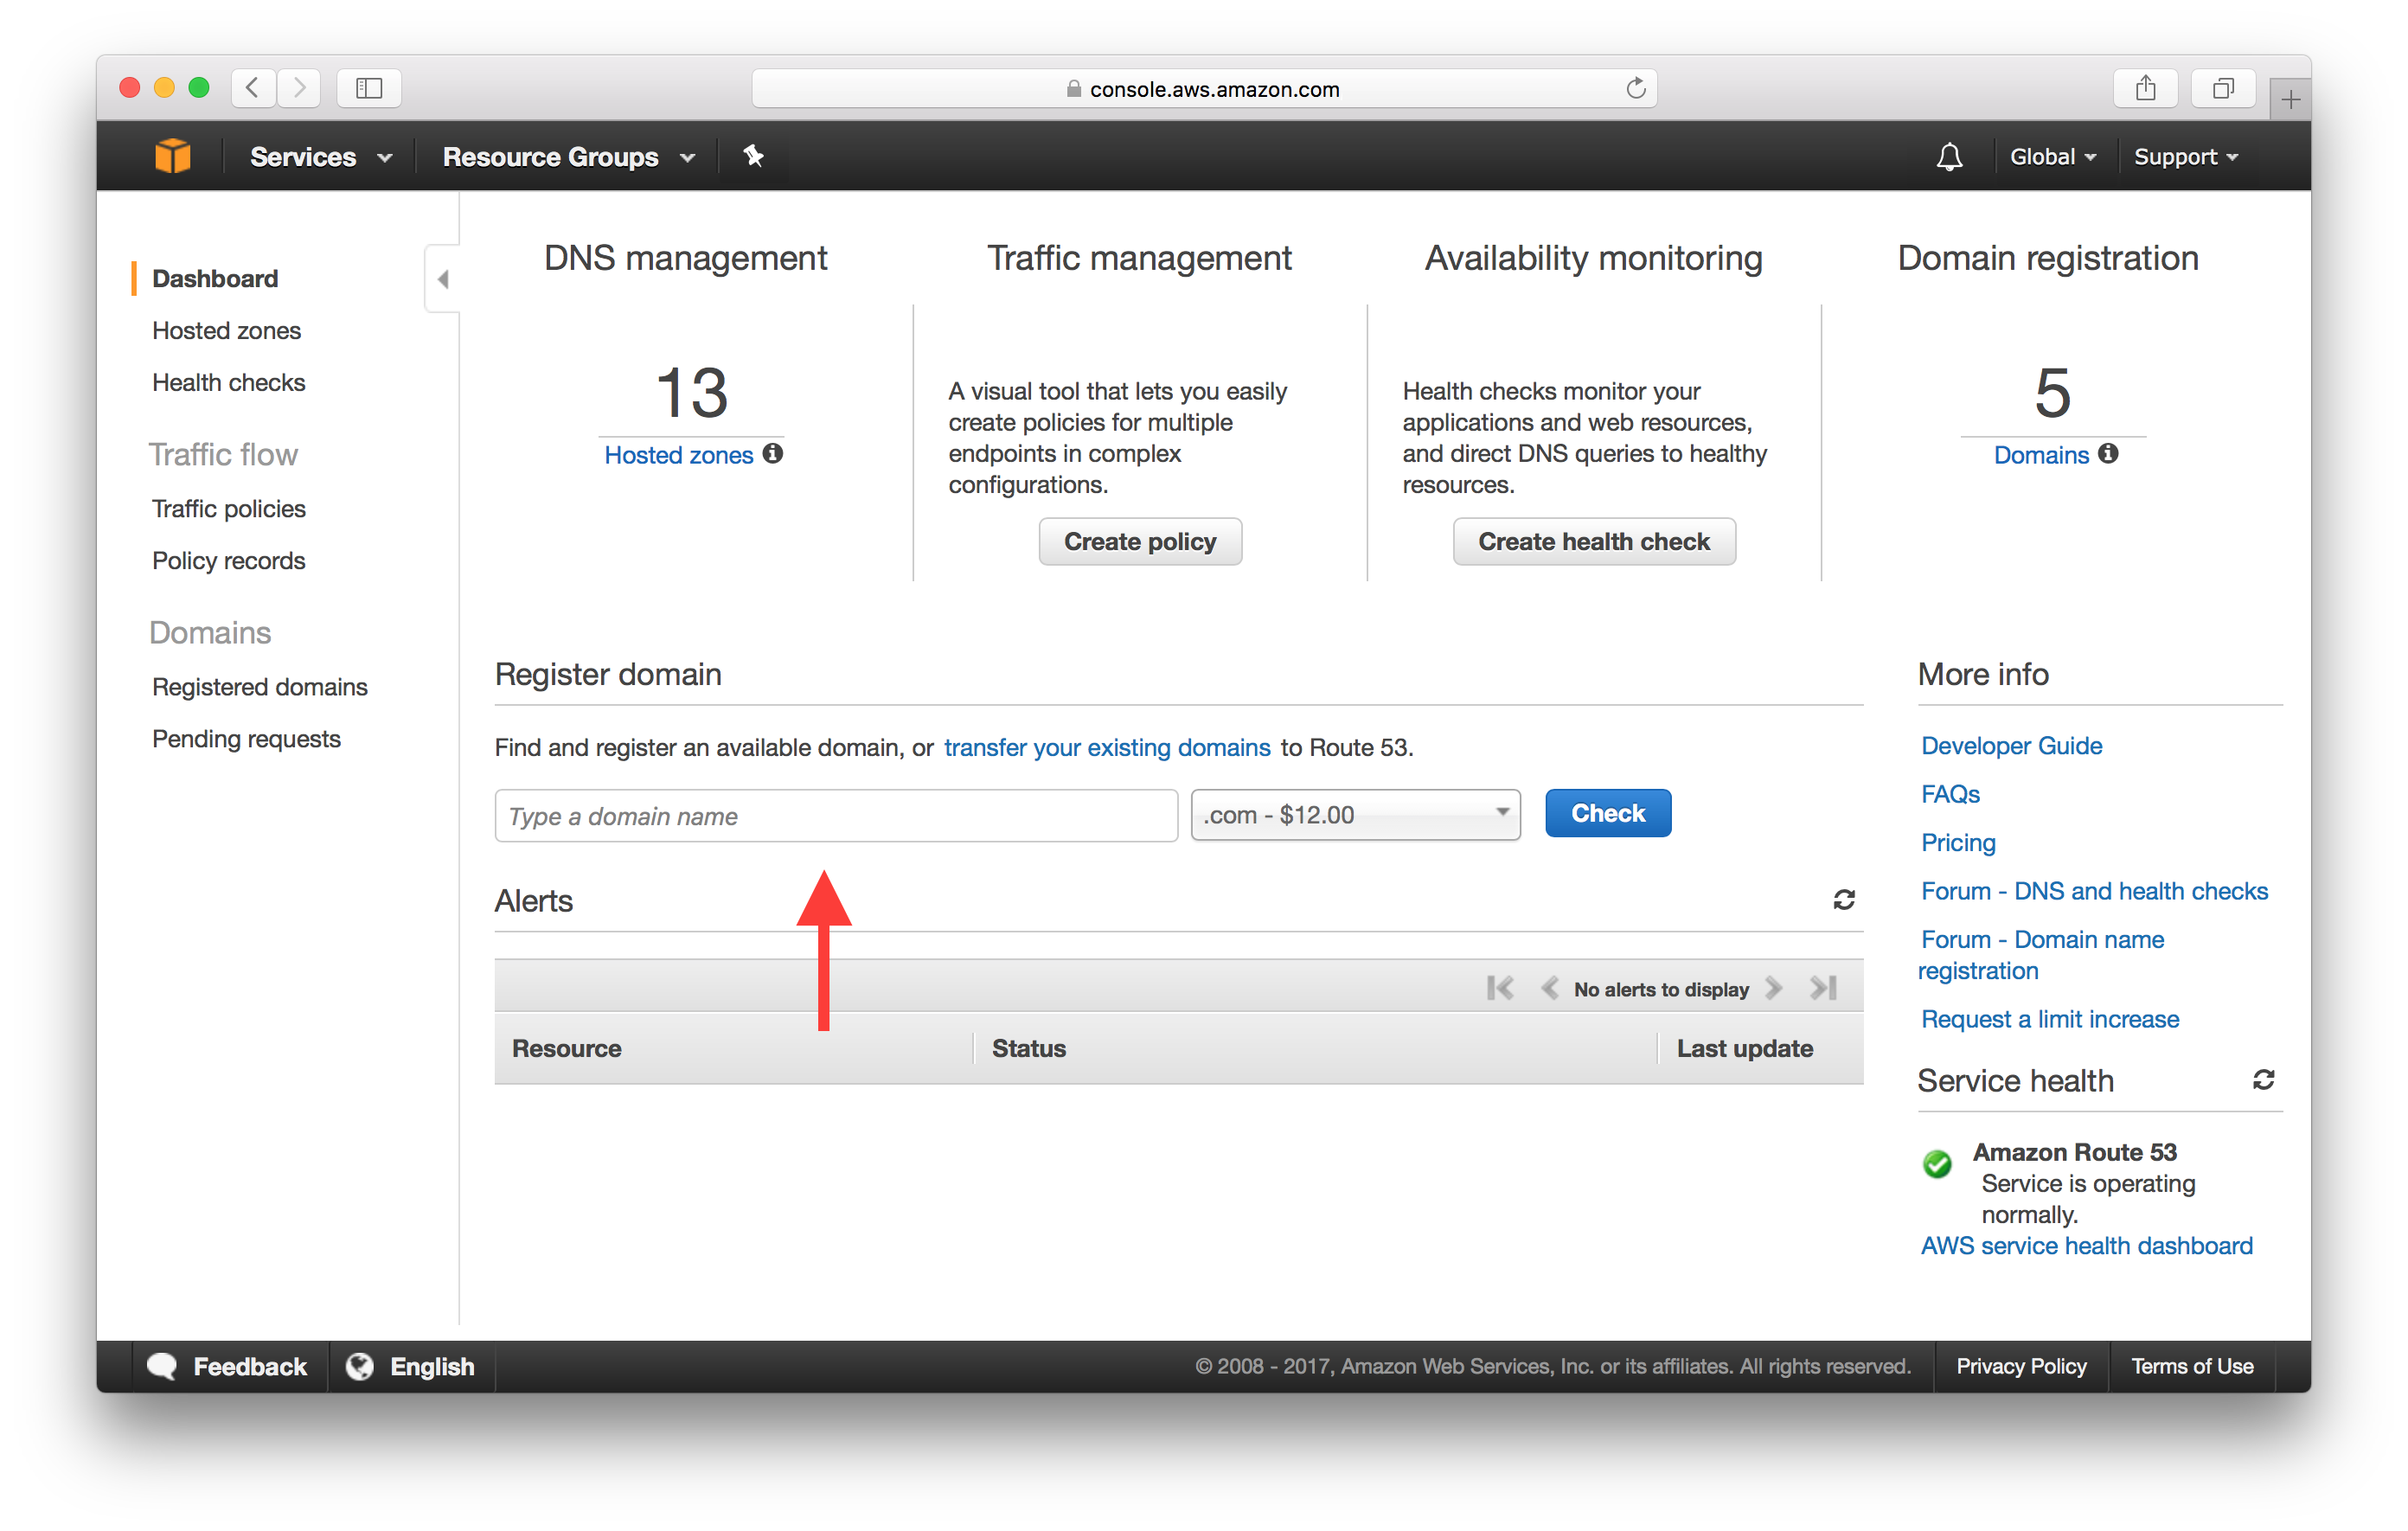
Type in your domain in the Register domain section and click Check.
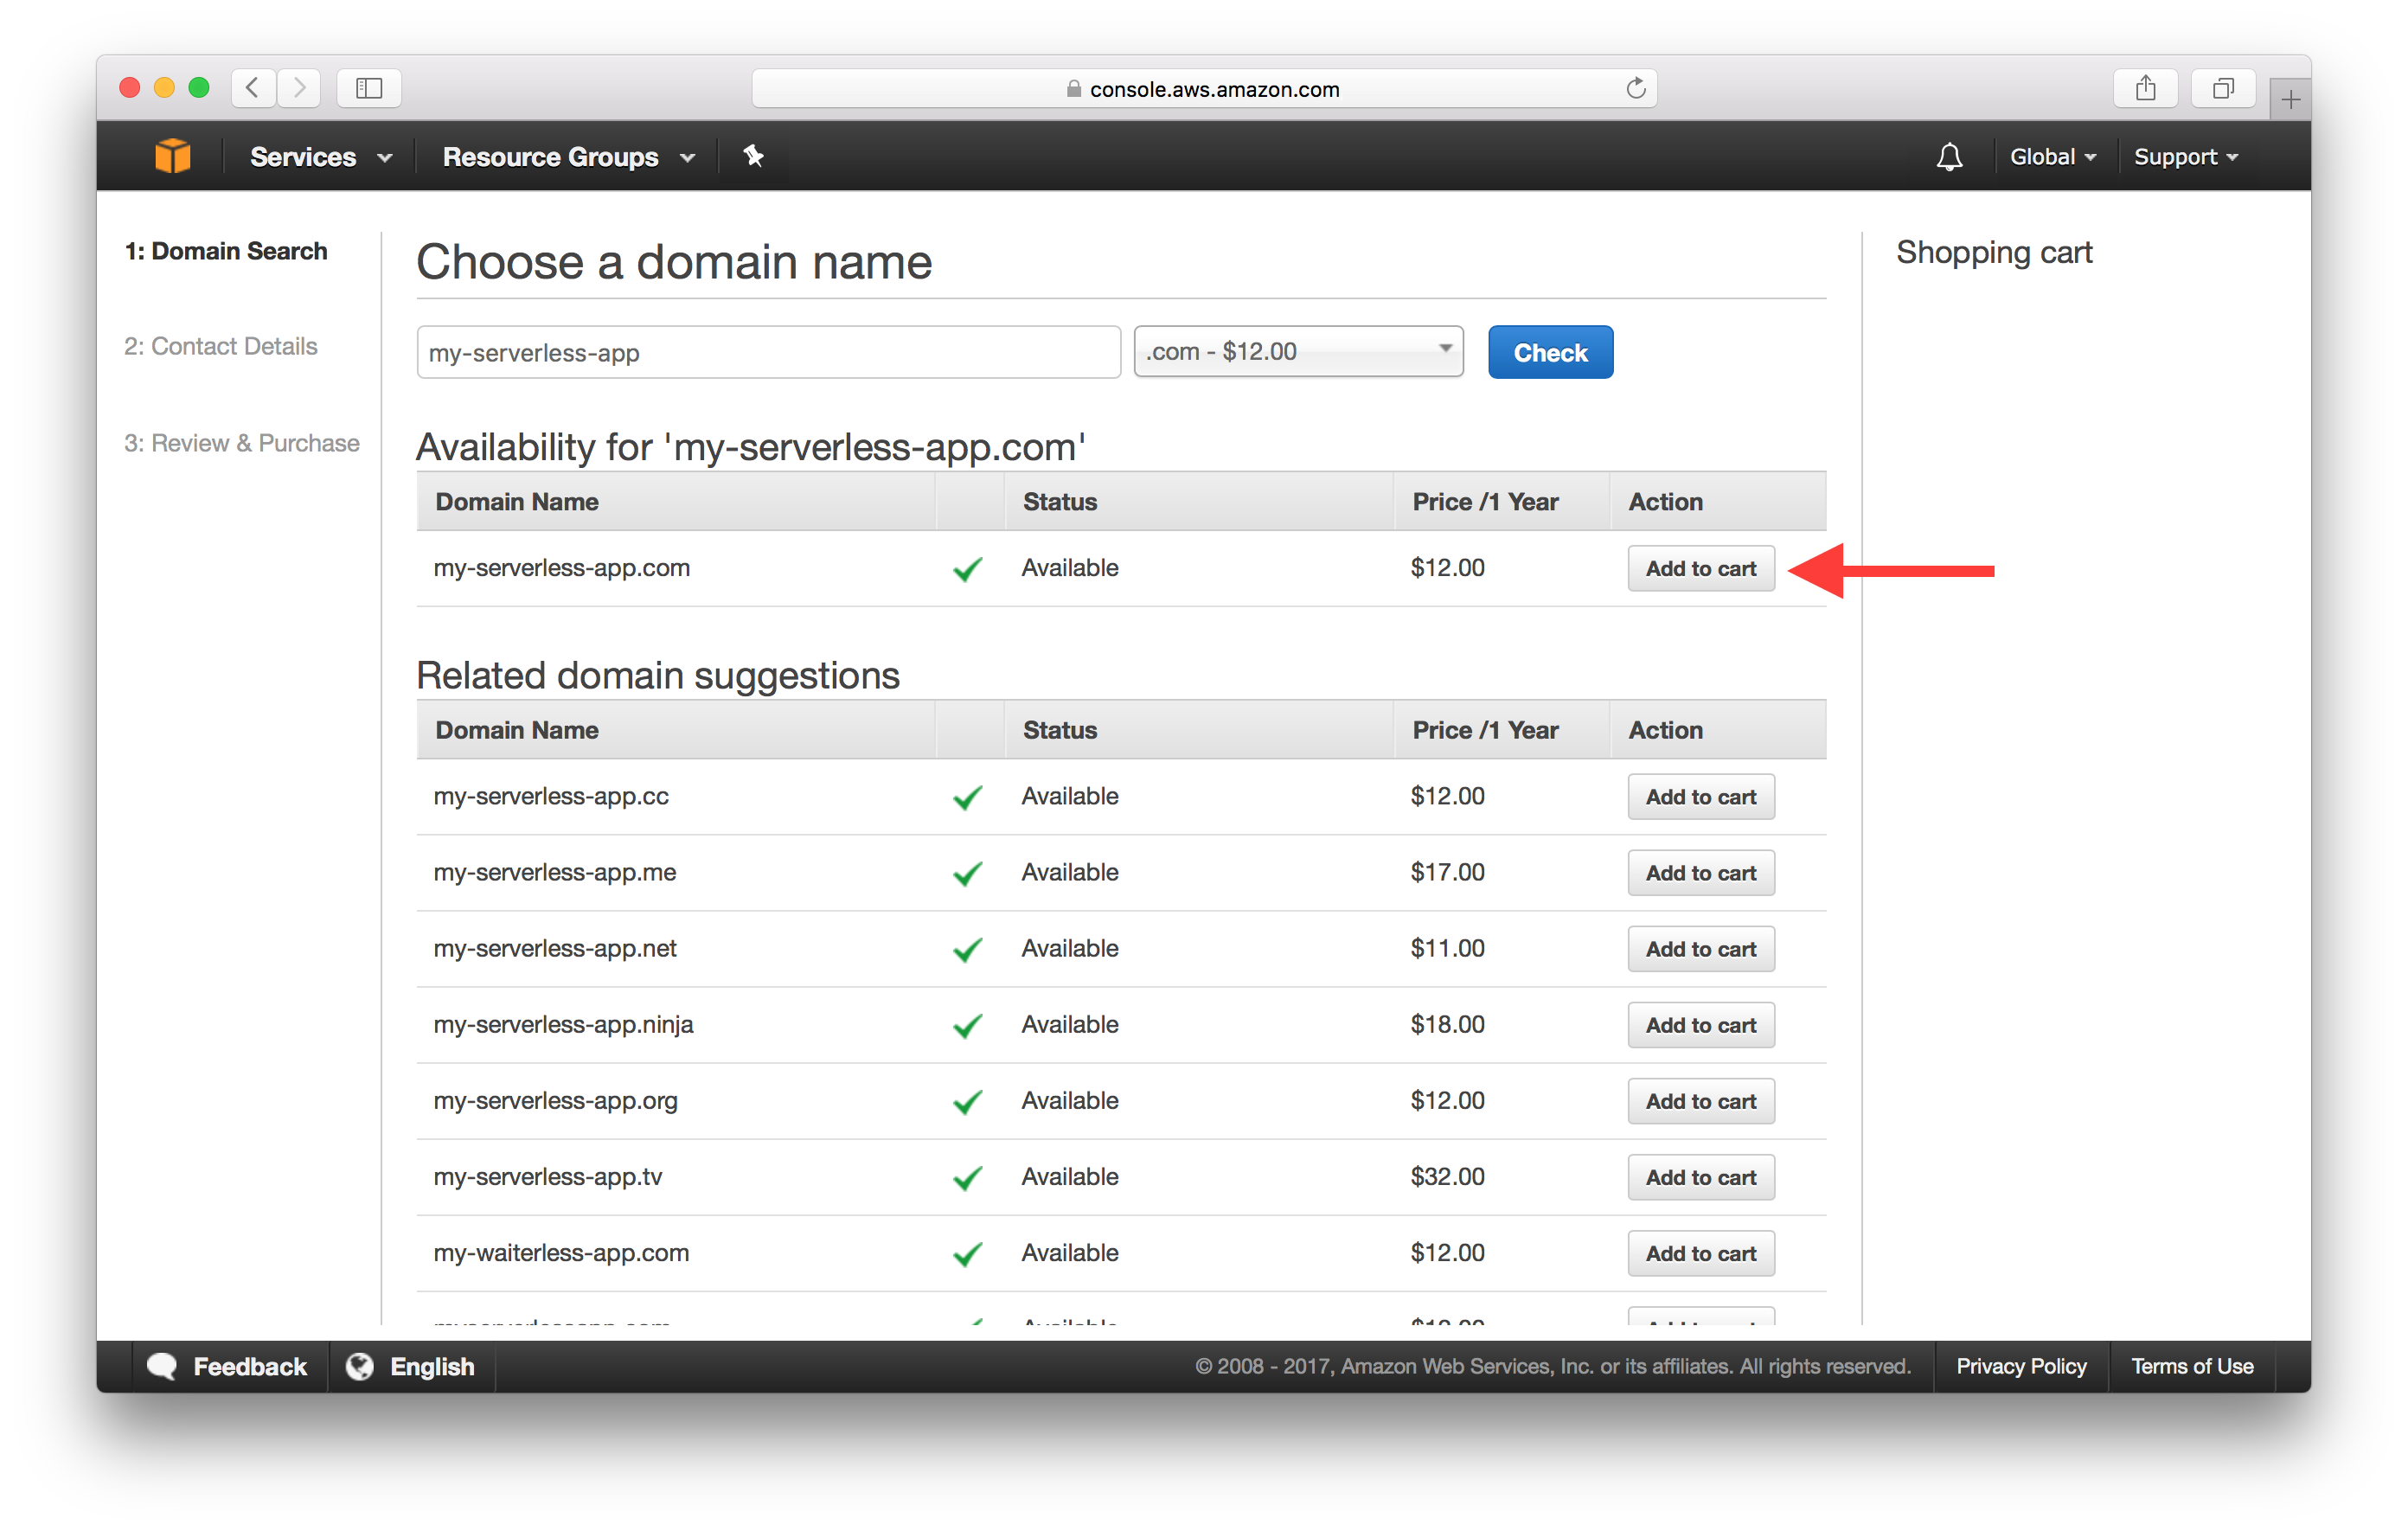
After checking its availability, click Add to cart.
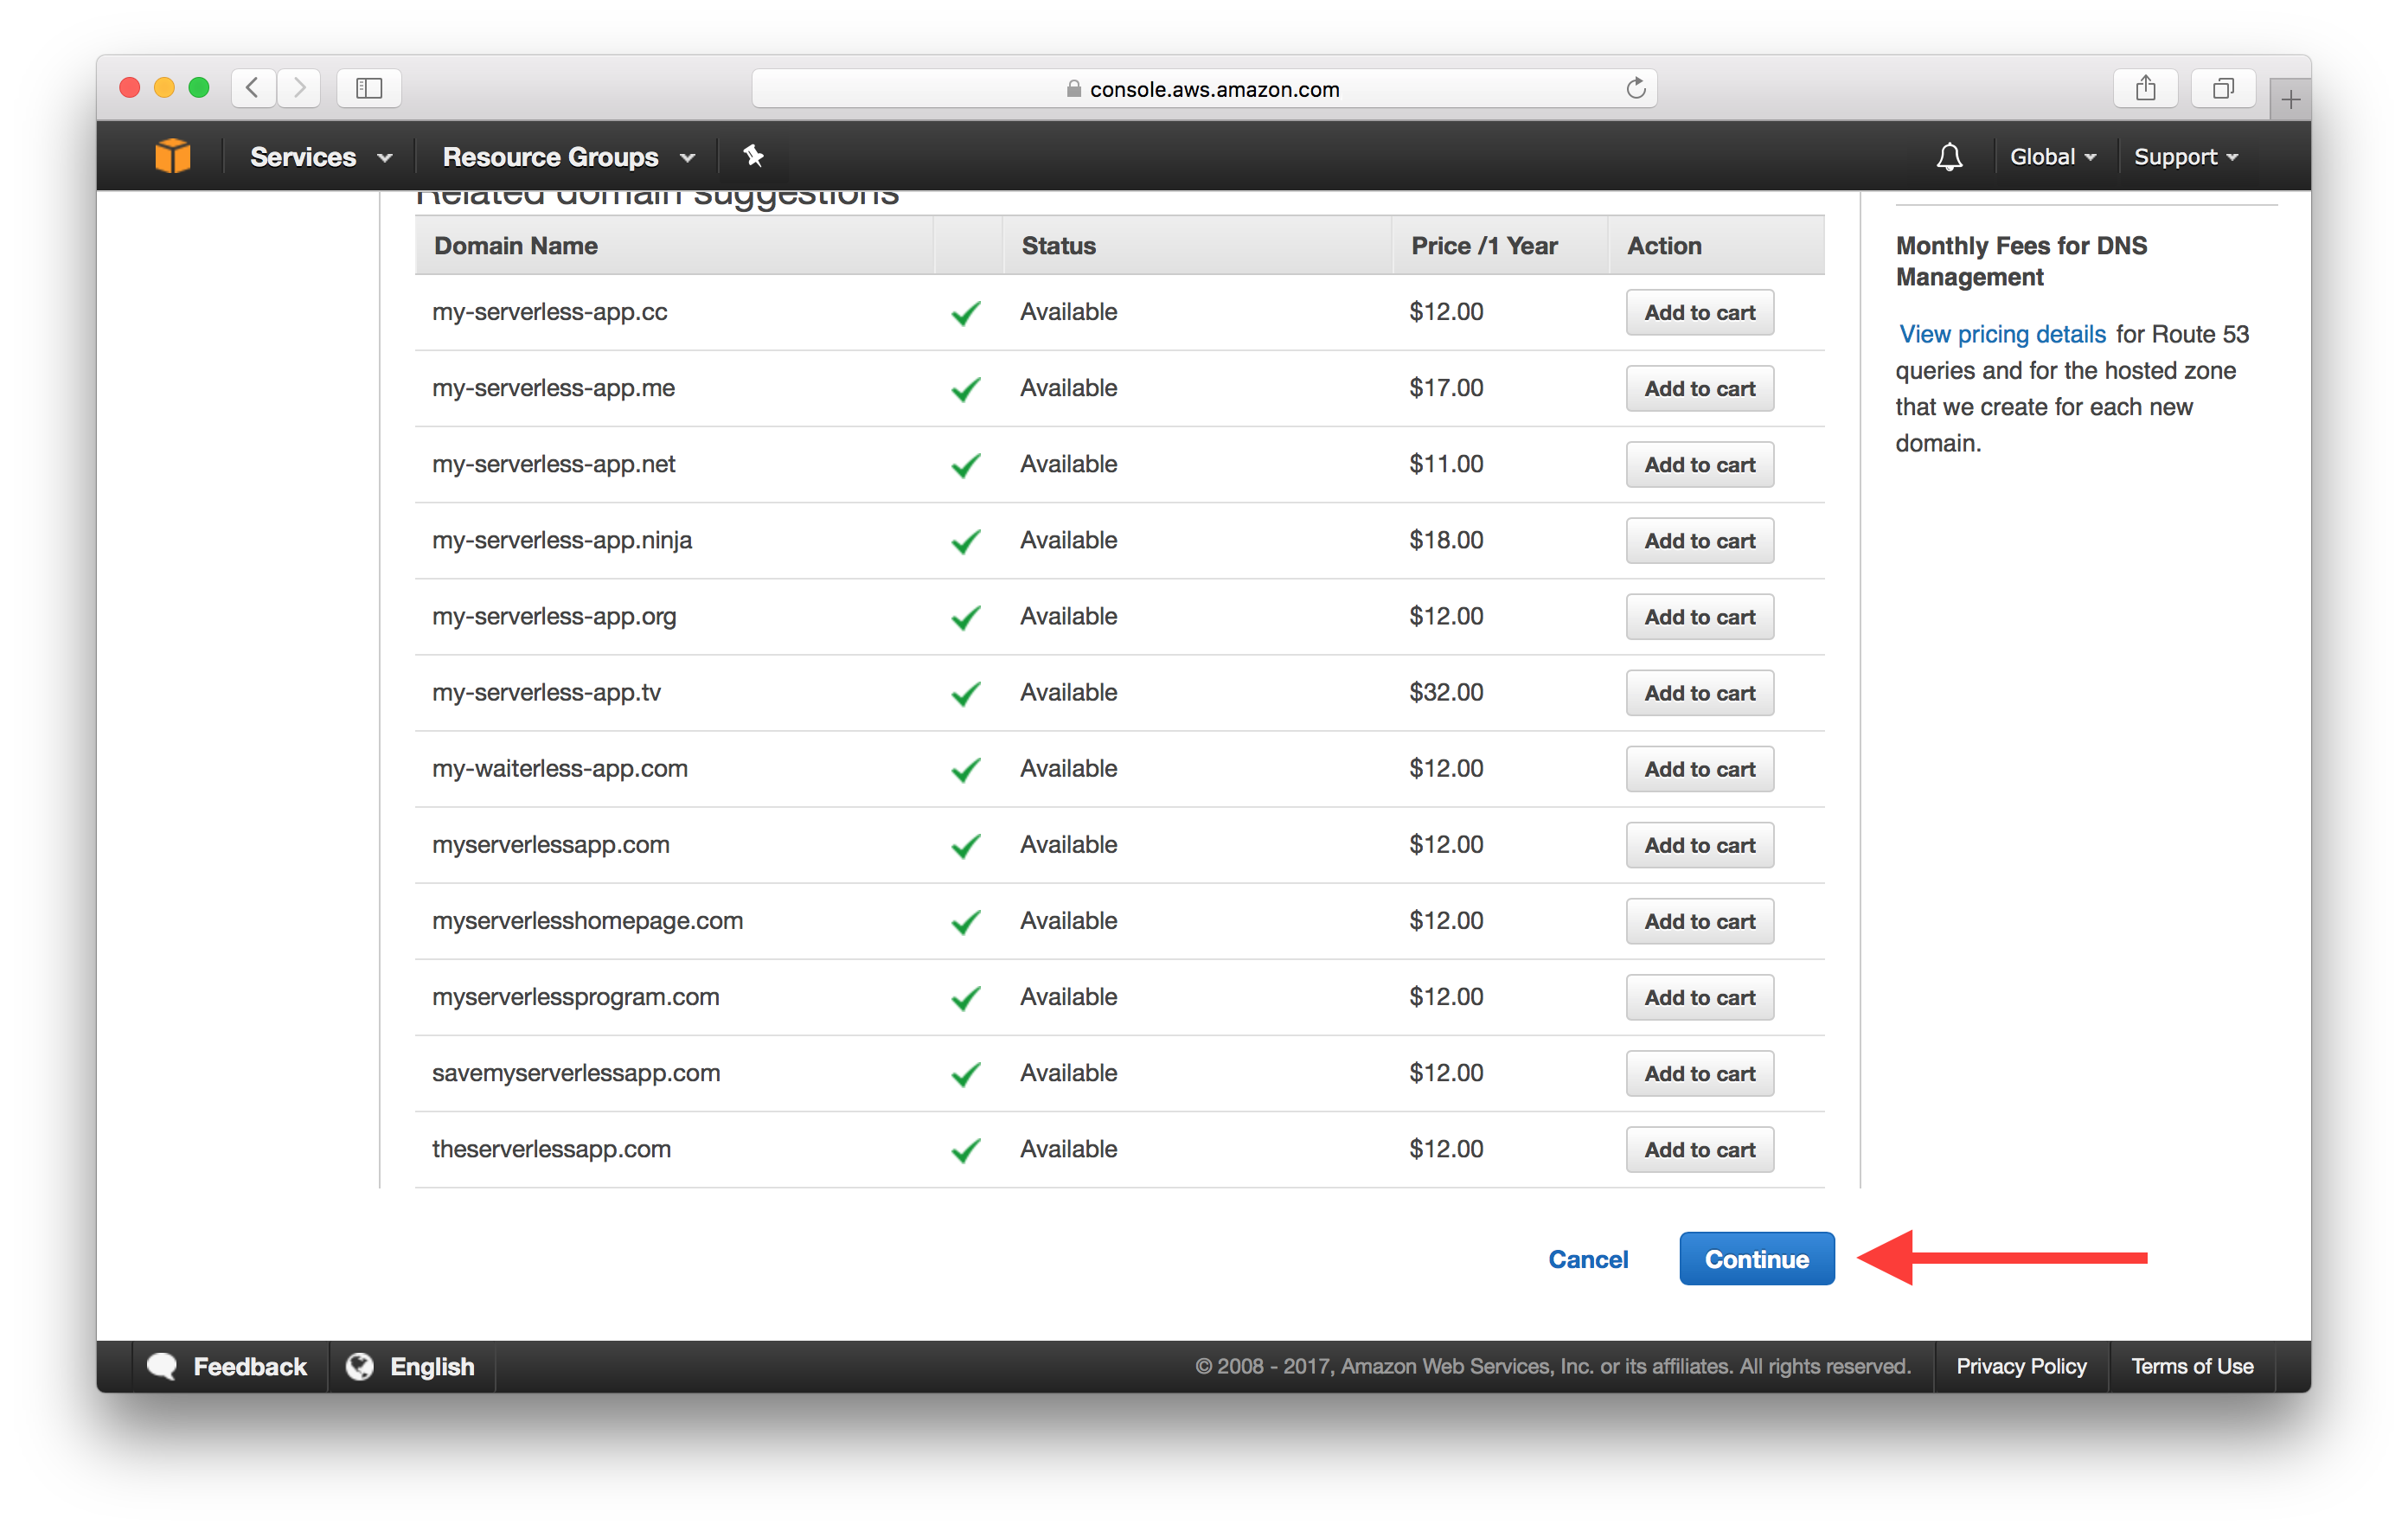
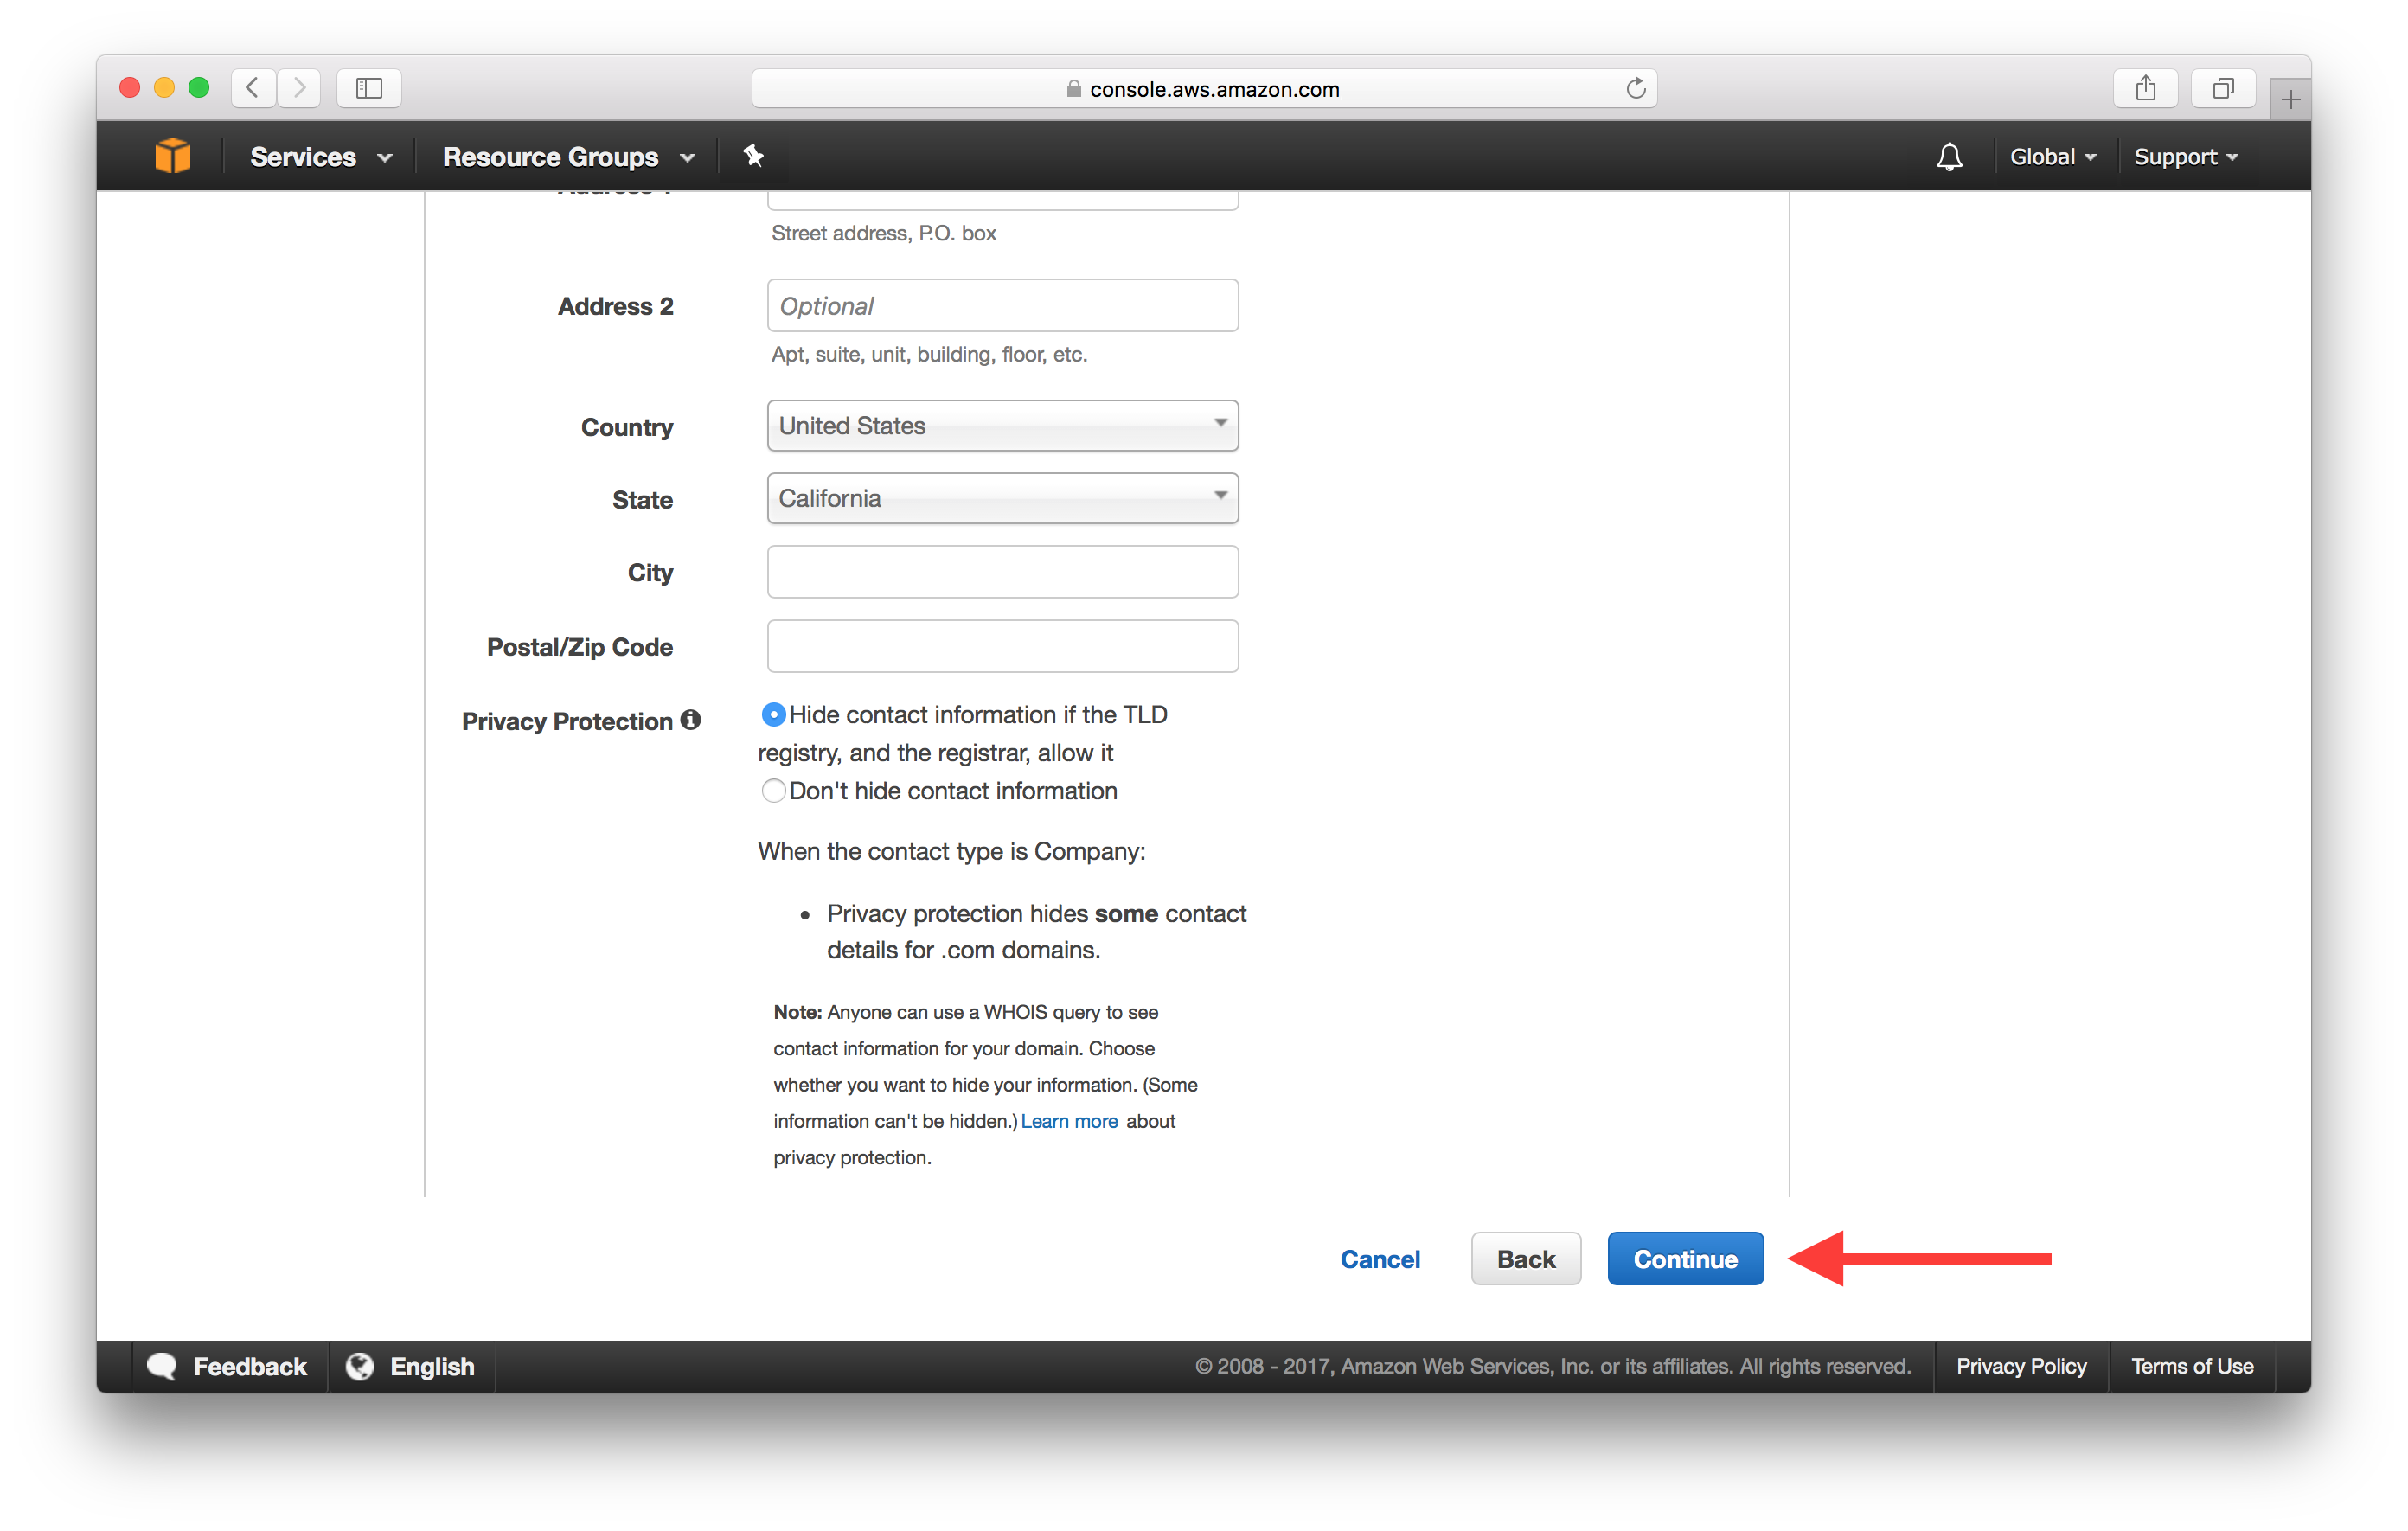
And hit Continue at the bottom of the page.
Fill in your contact details and hit Continue once again.
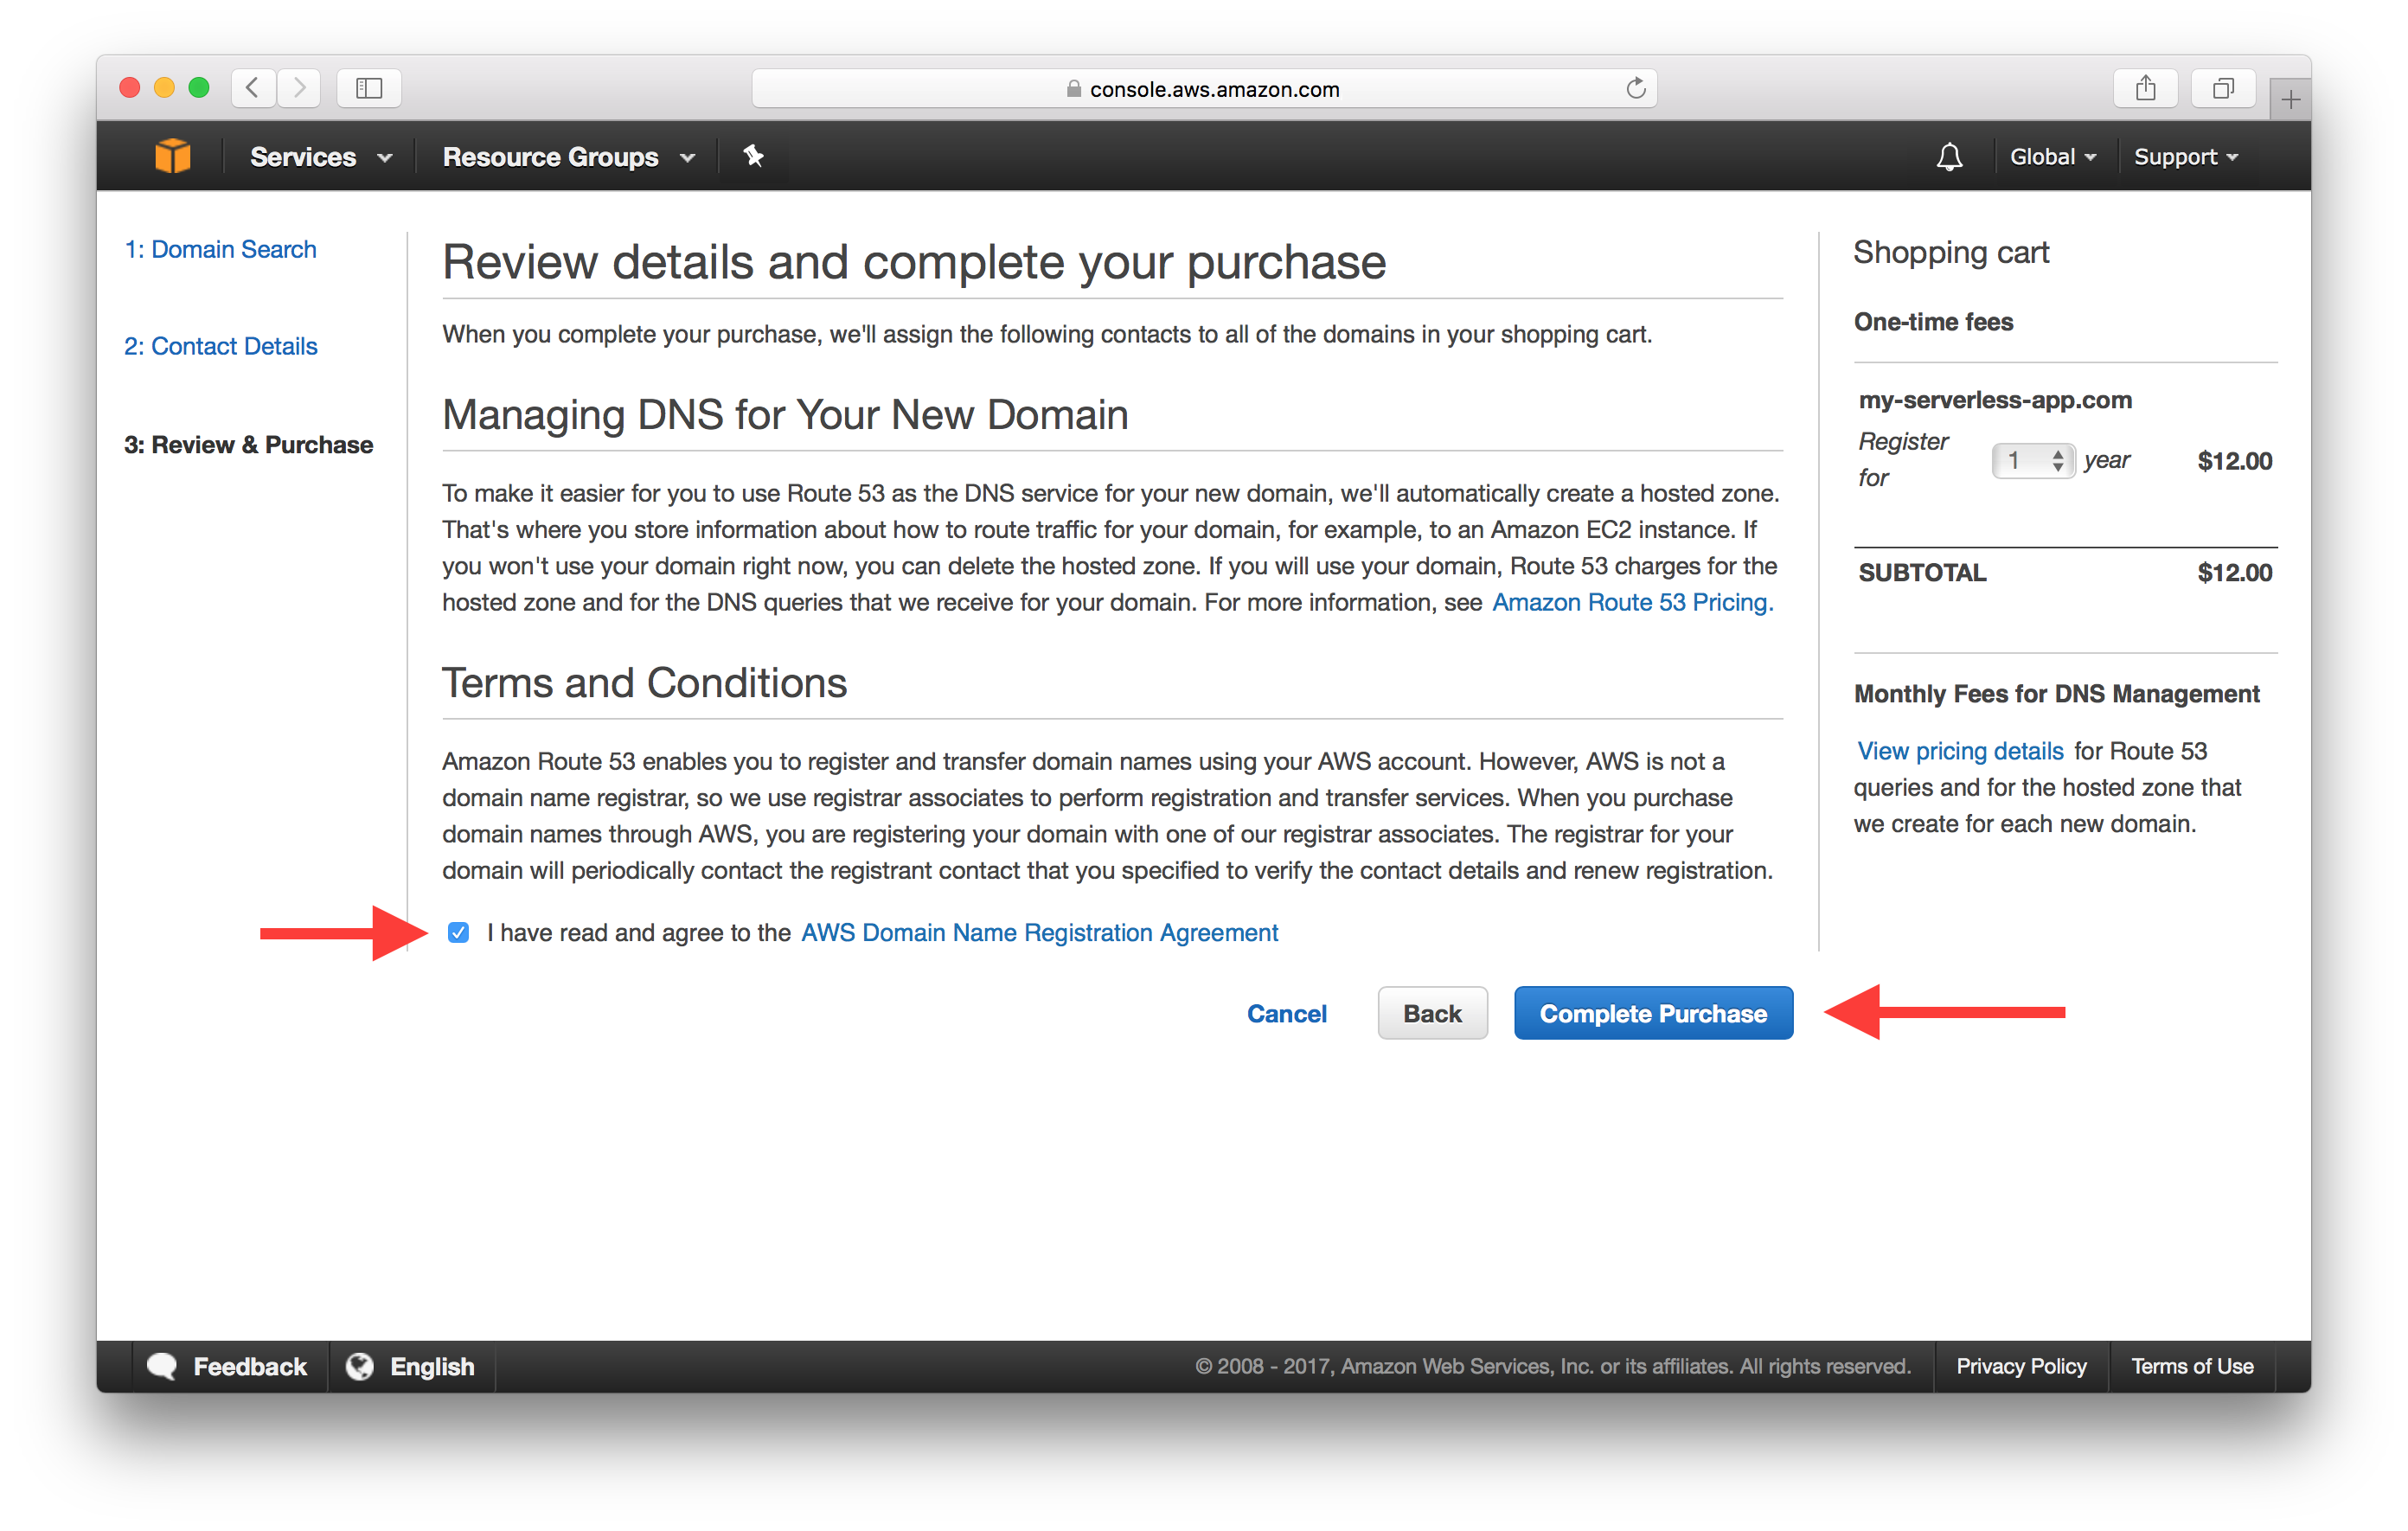
Finally, review your details and confirm the purchase by hitting Complete Purchase.
Next, let’s use this custom domain for our app.
Add Custom Domain on Seed
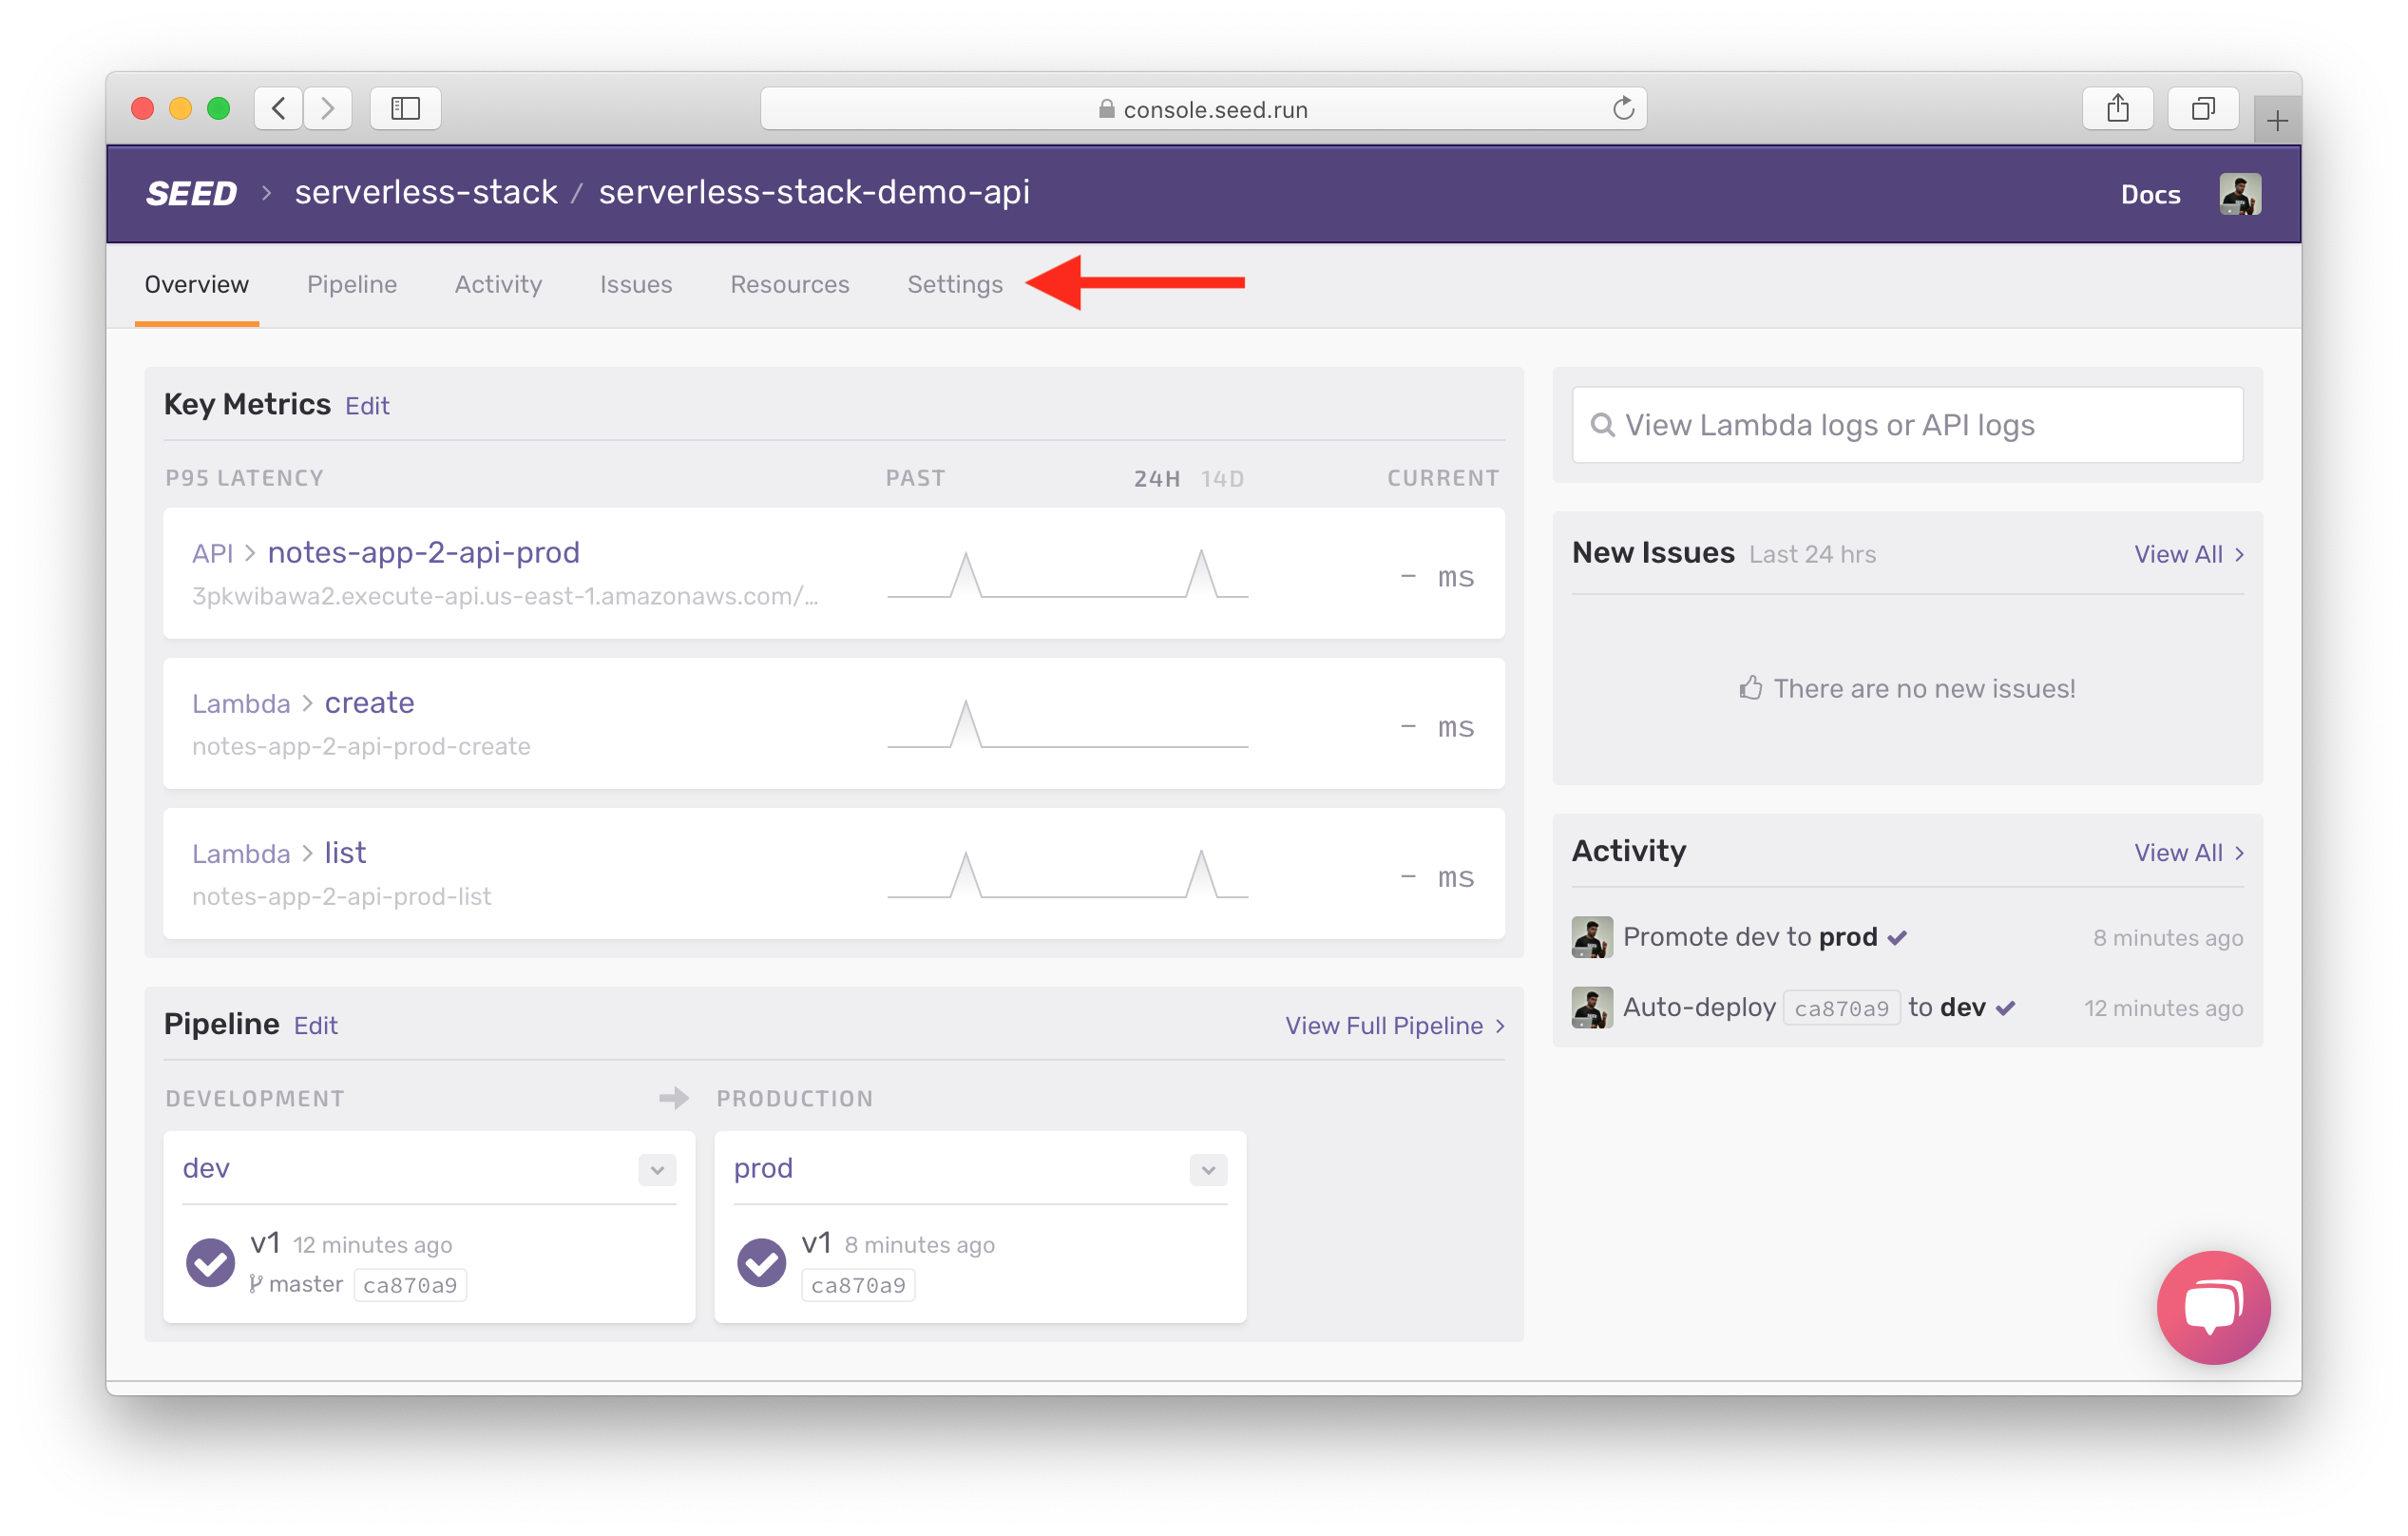
Head over to our app settings in Seed.
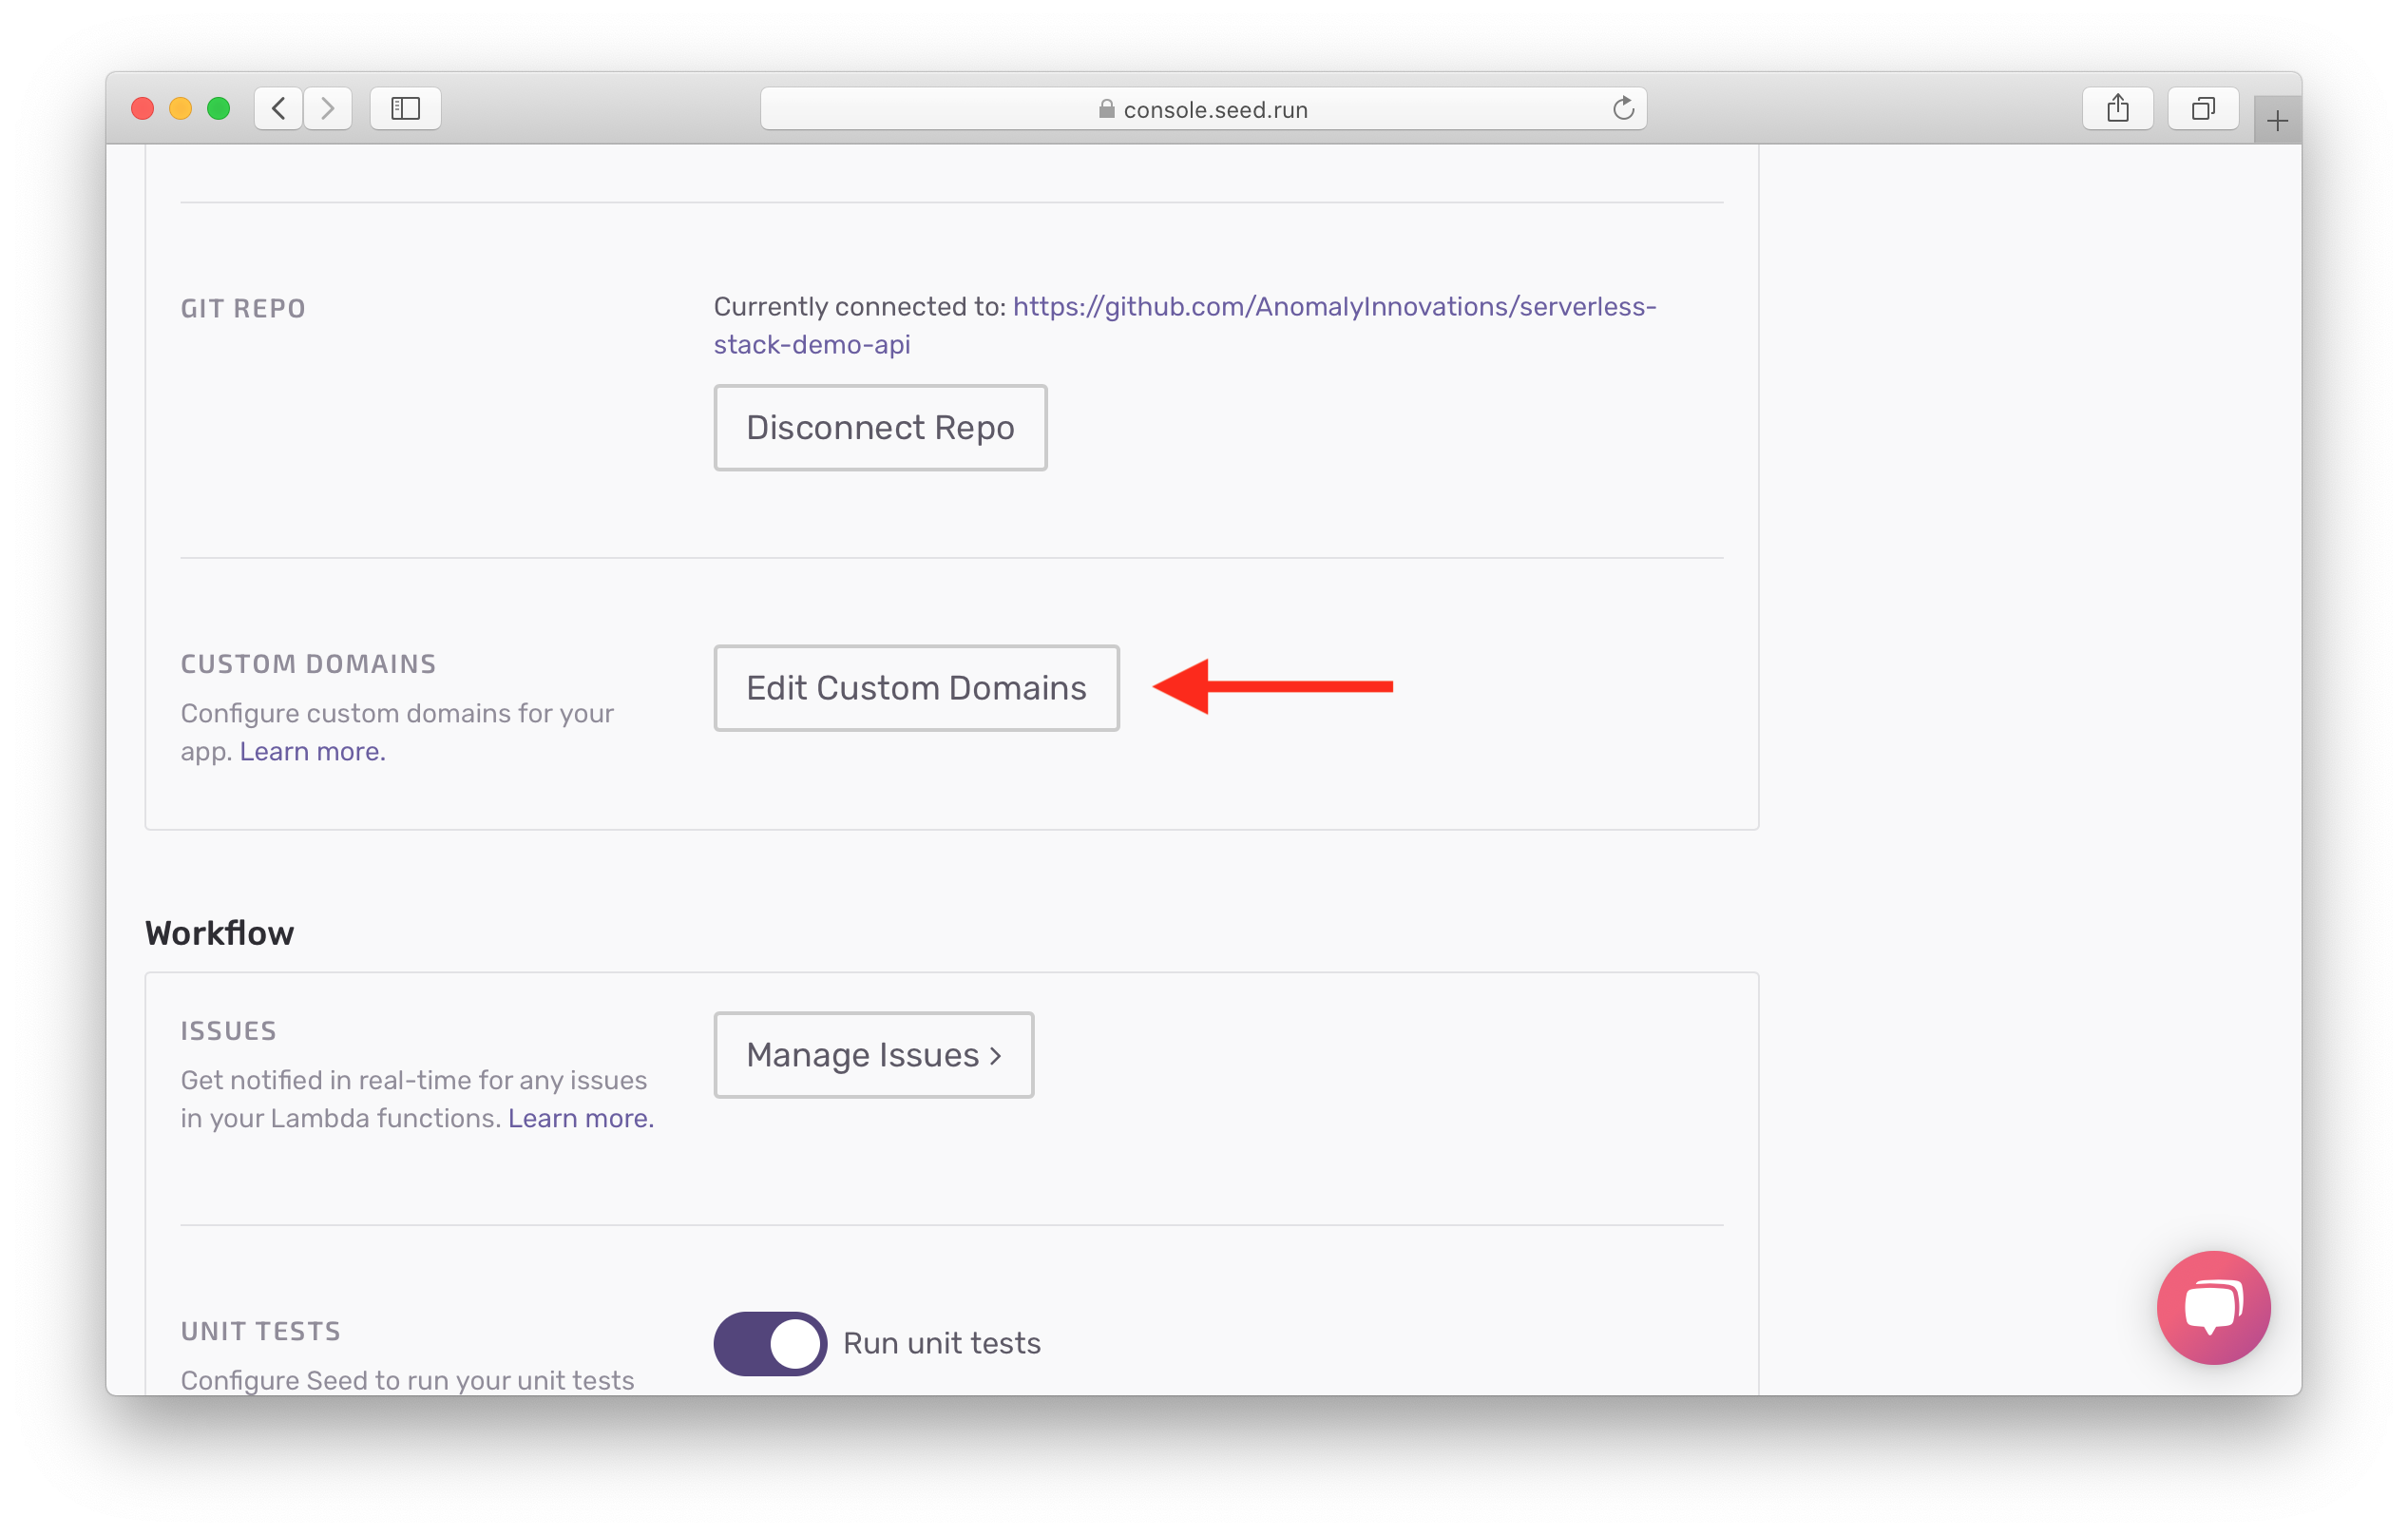
Here click on Edit Custom Domains.
And click Add for our production endpoint.
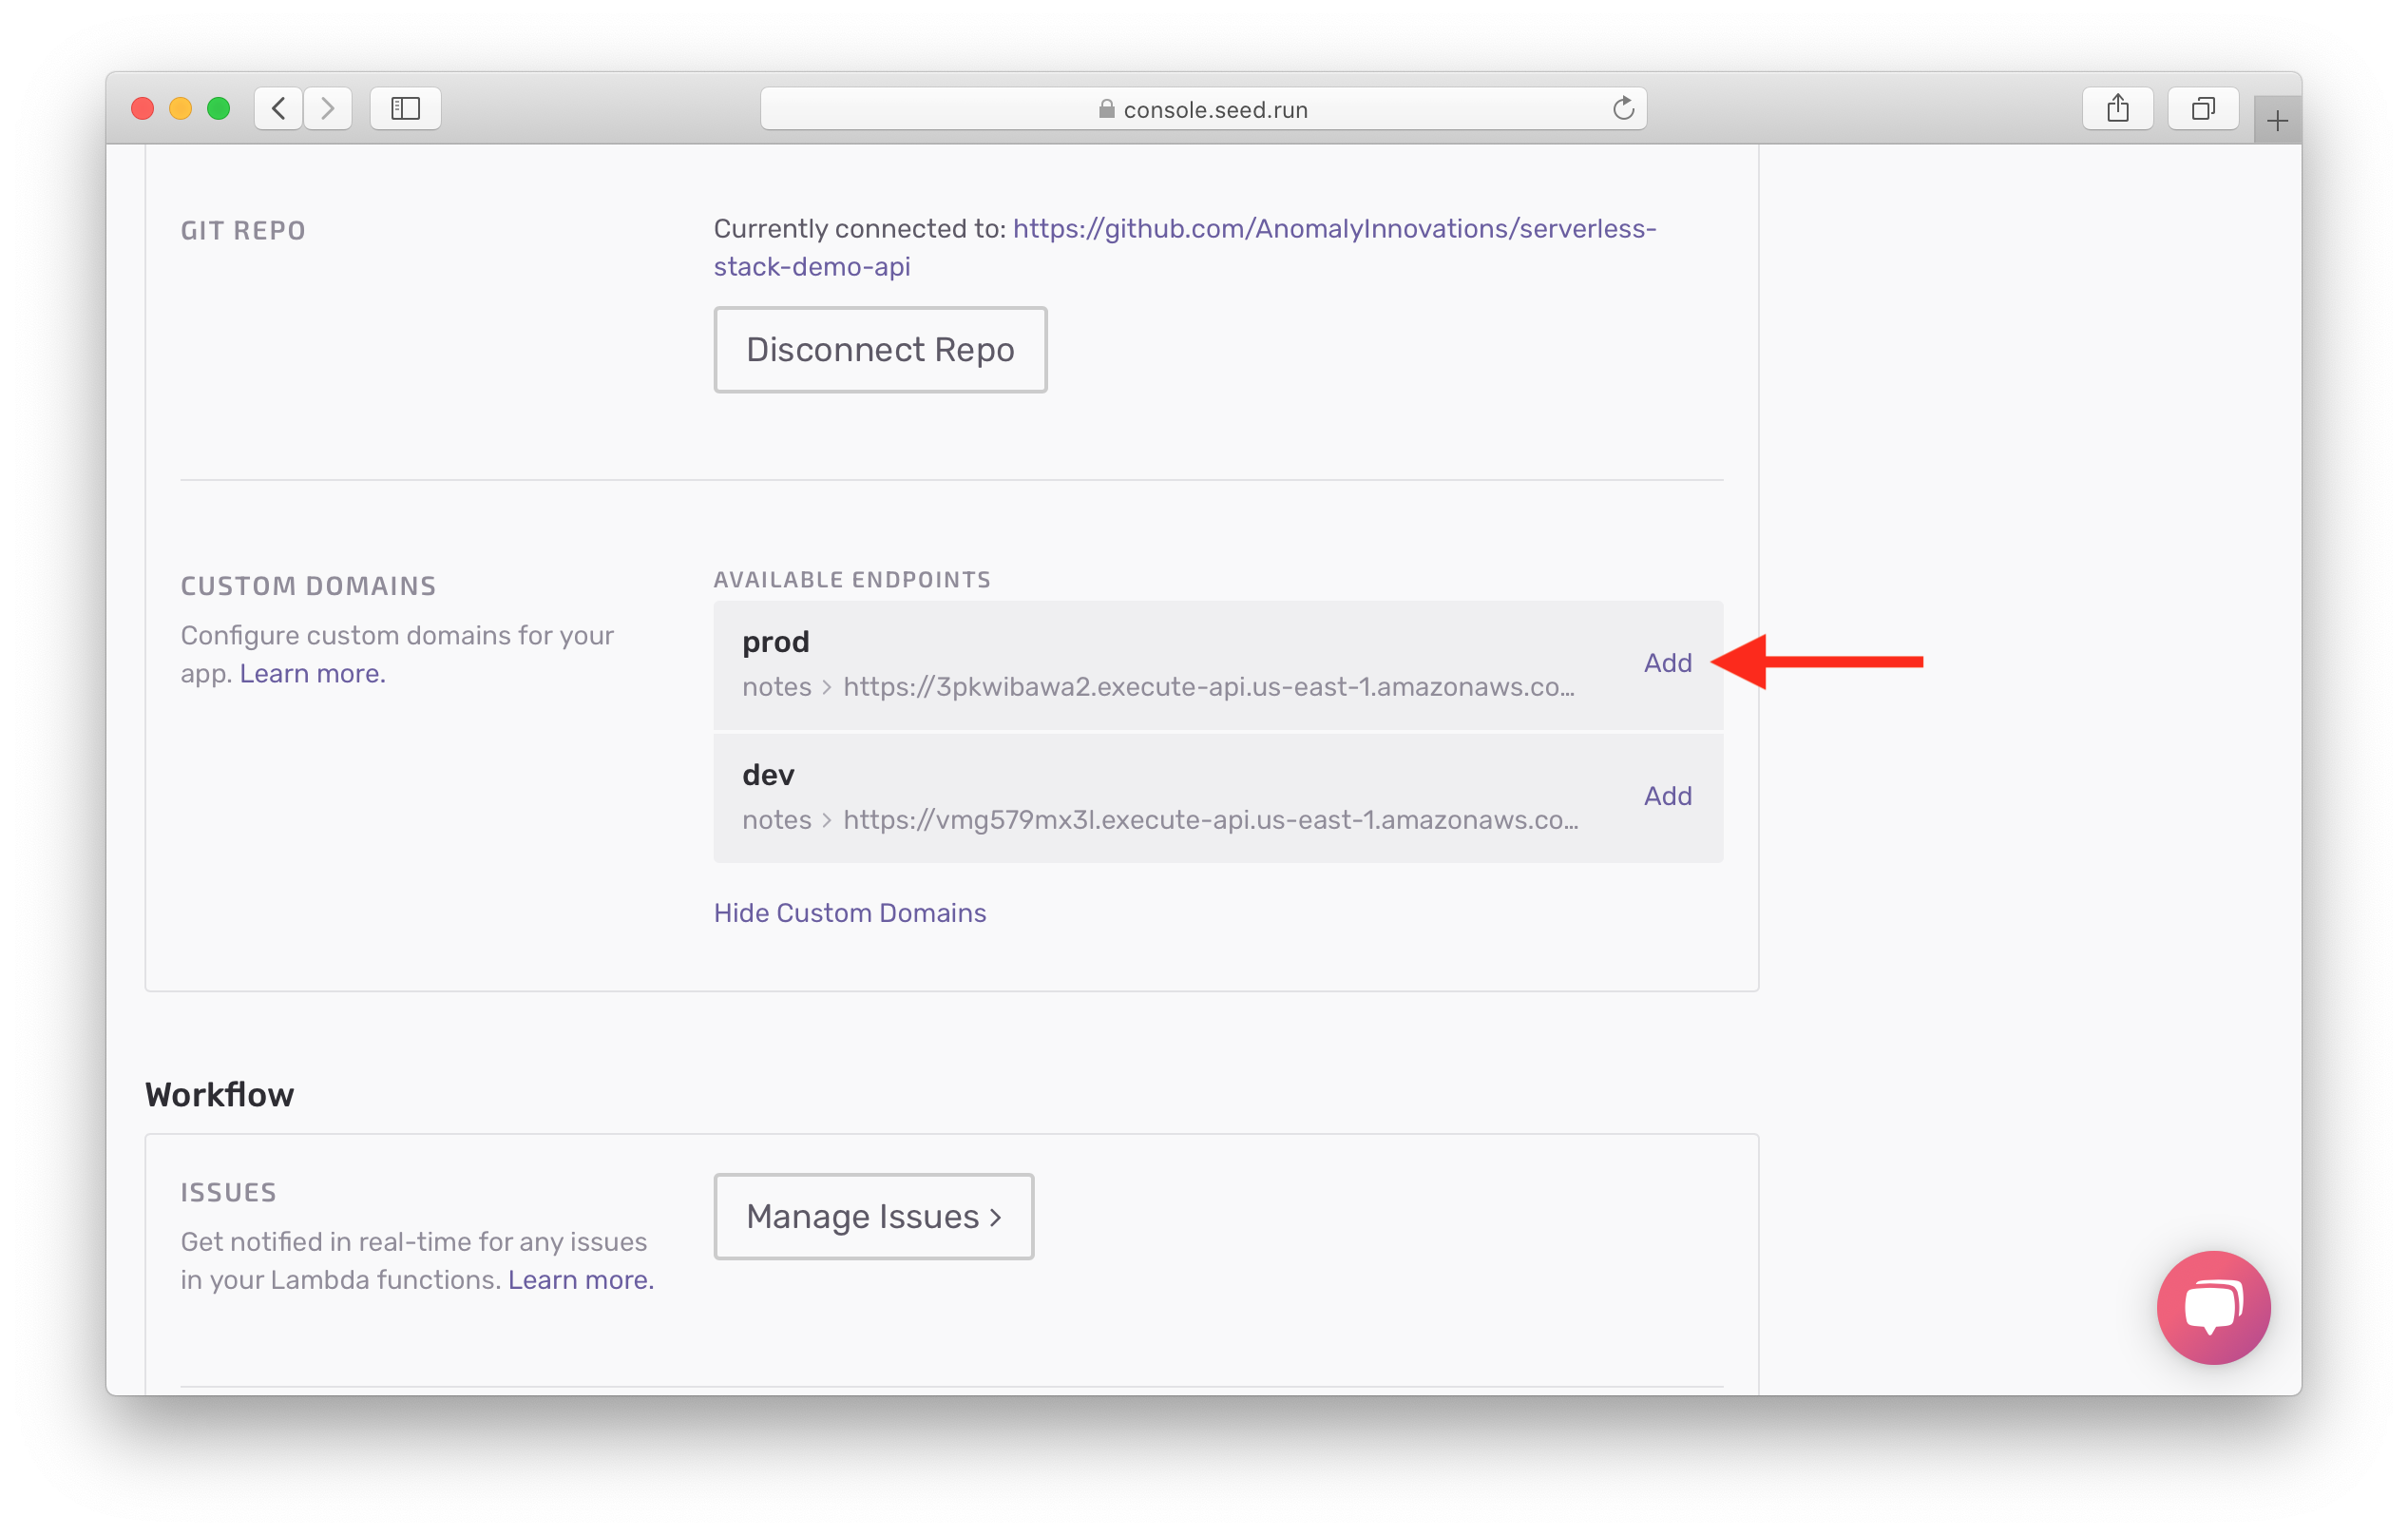
Seed will pull up any domains you have configured in Route 53.
Hit Select a domain and you should see a list of all your Route 53 domains. Select the one you intend to use. And fill in the sub-domain and base path. For example, you could use api.my-domain.com/prod; where api is the sub-domain and prod is the base path.
And hit Add Custom Domain.
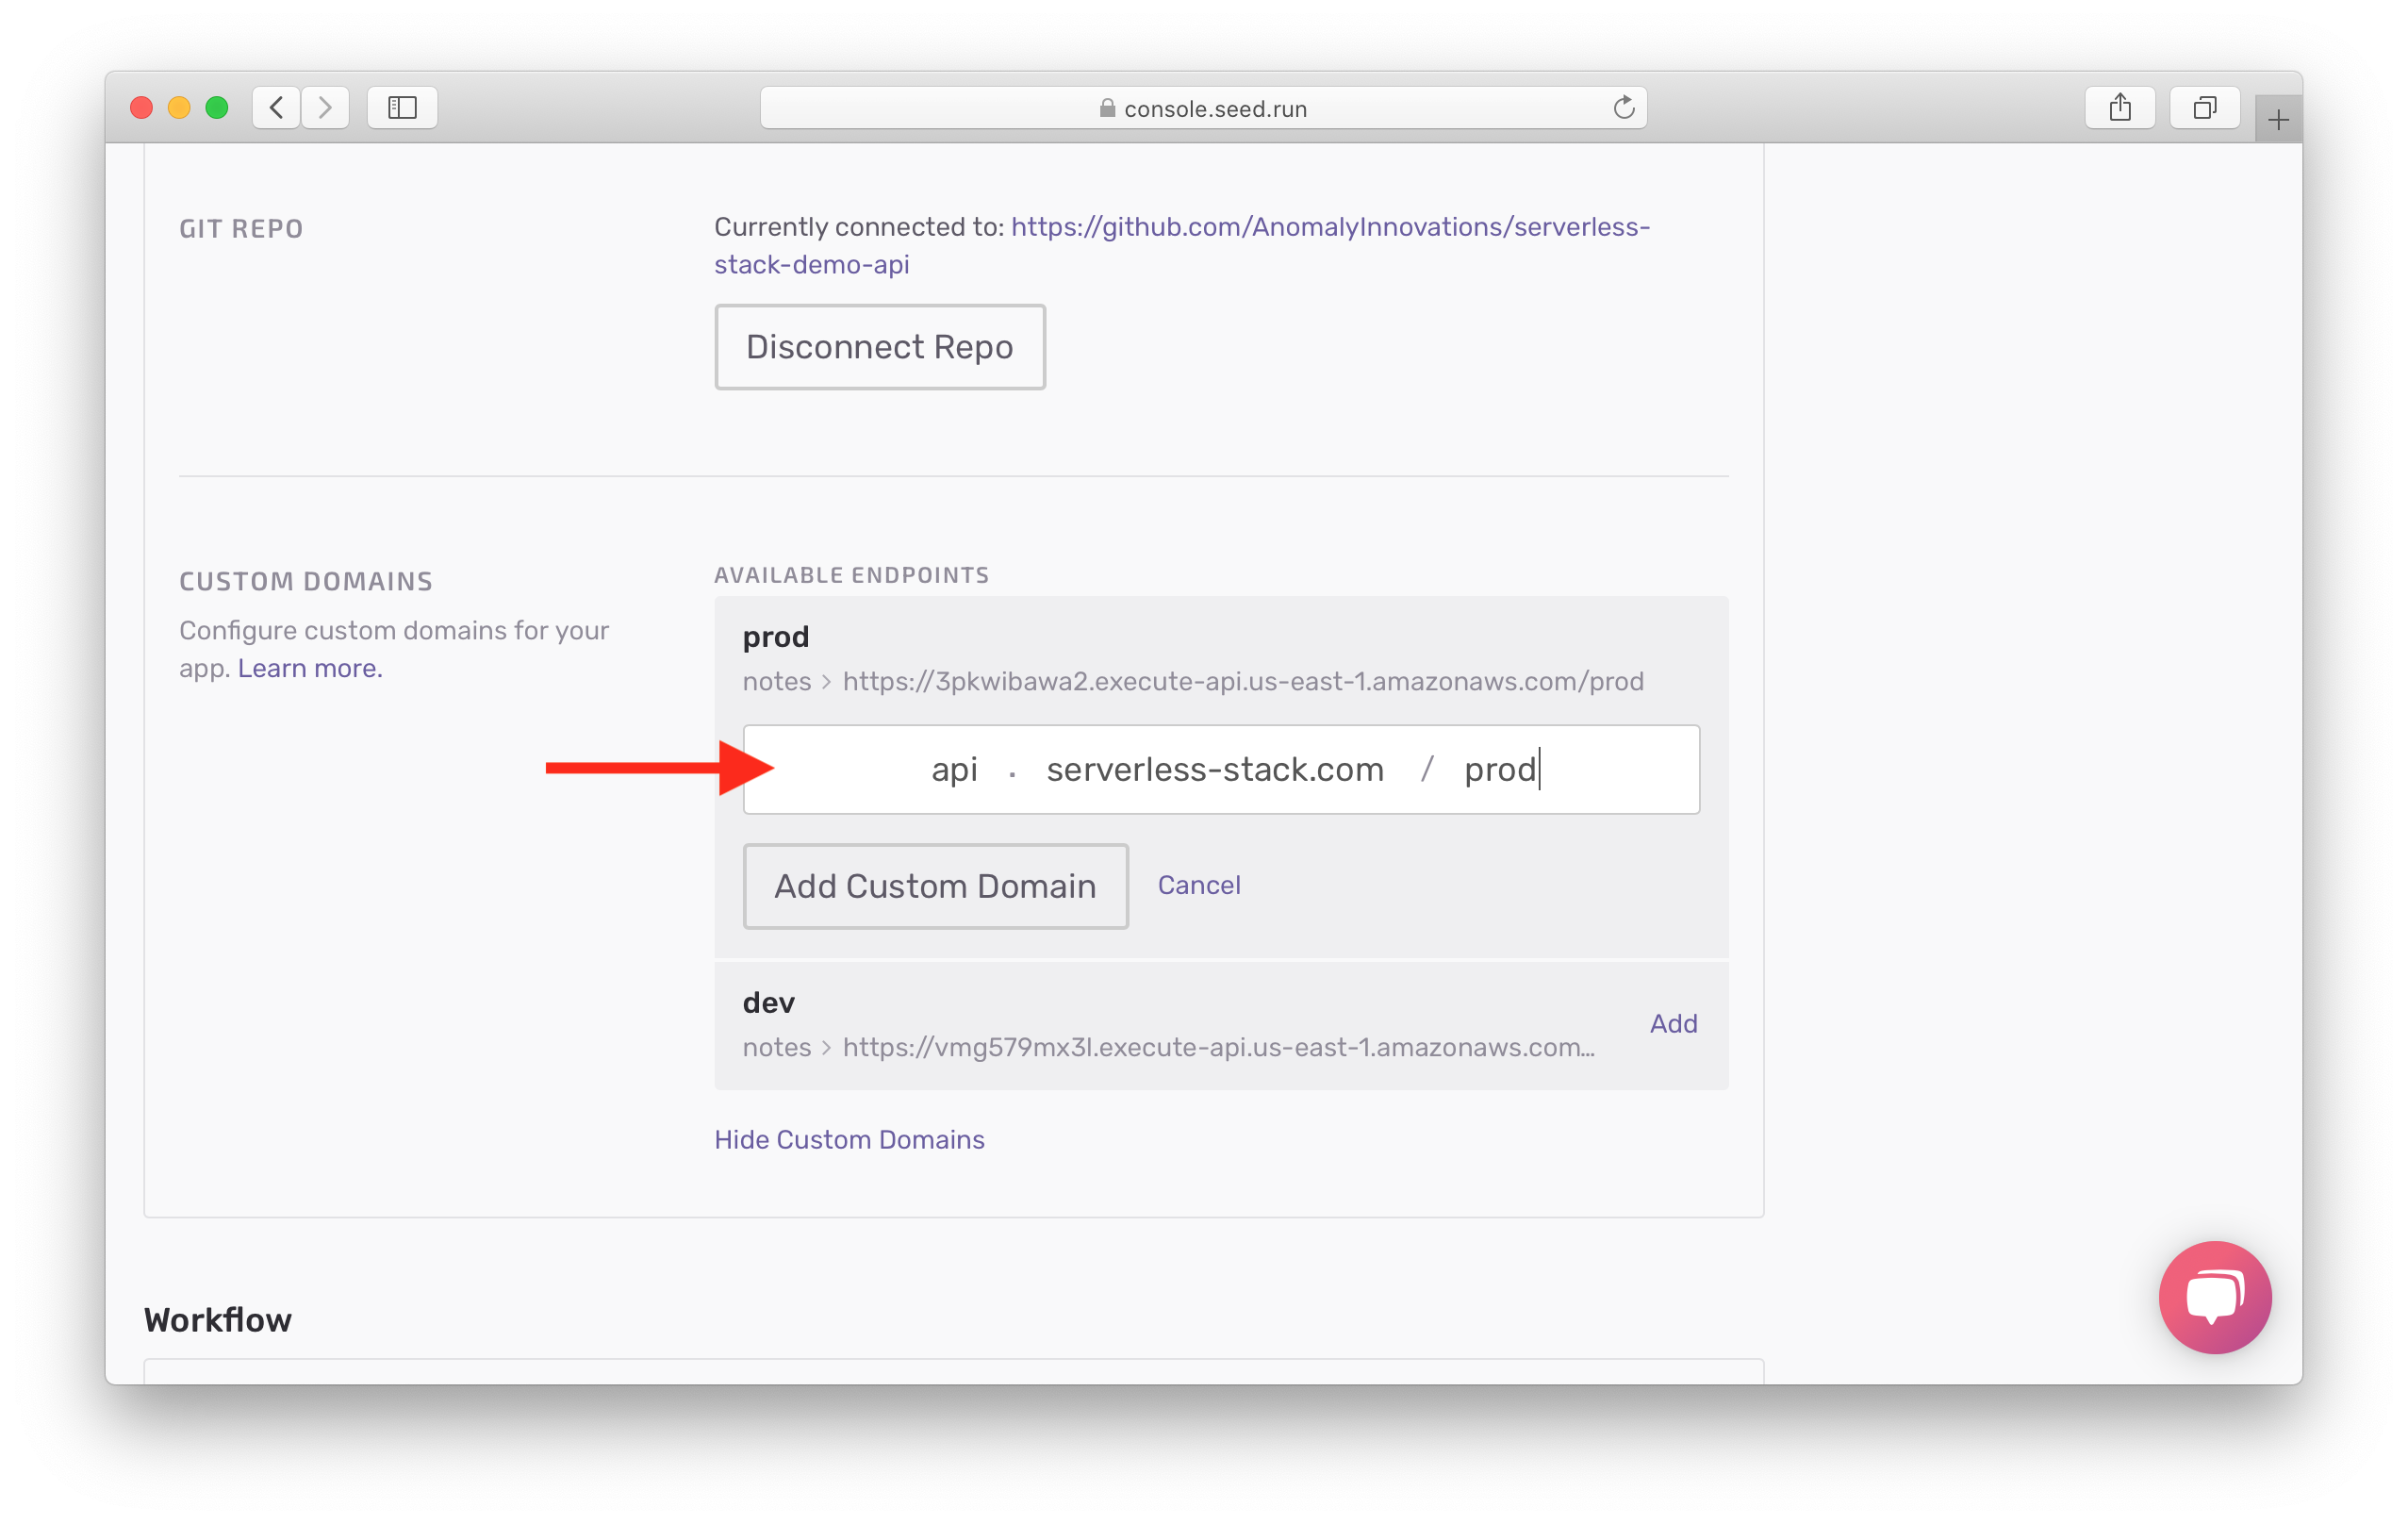
Seed will now go through and configure the domain for this API Gateway endpoint, create the SSL certificate and attach it to the domain. This process can take up to 40 mins.
While we wait, we can do the same for our dev endpoint. Select the domain, sub-domain, and base path. In our case we’ll use something like api.my-domain.com/dev.
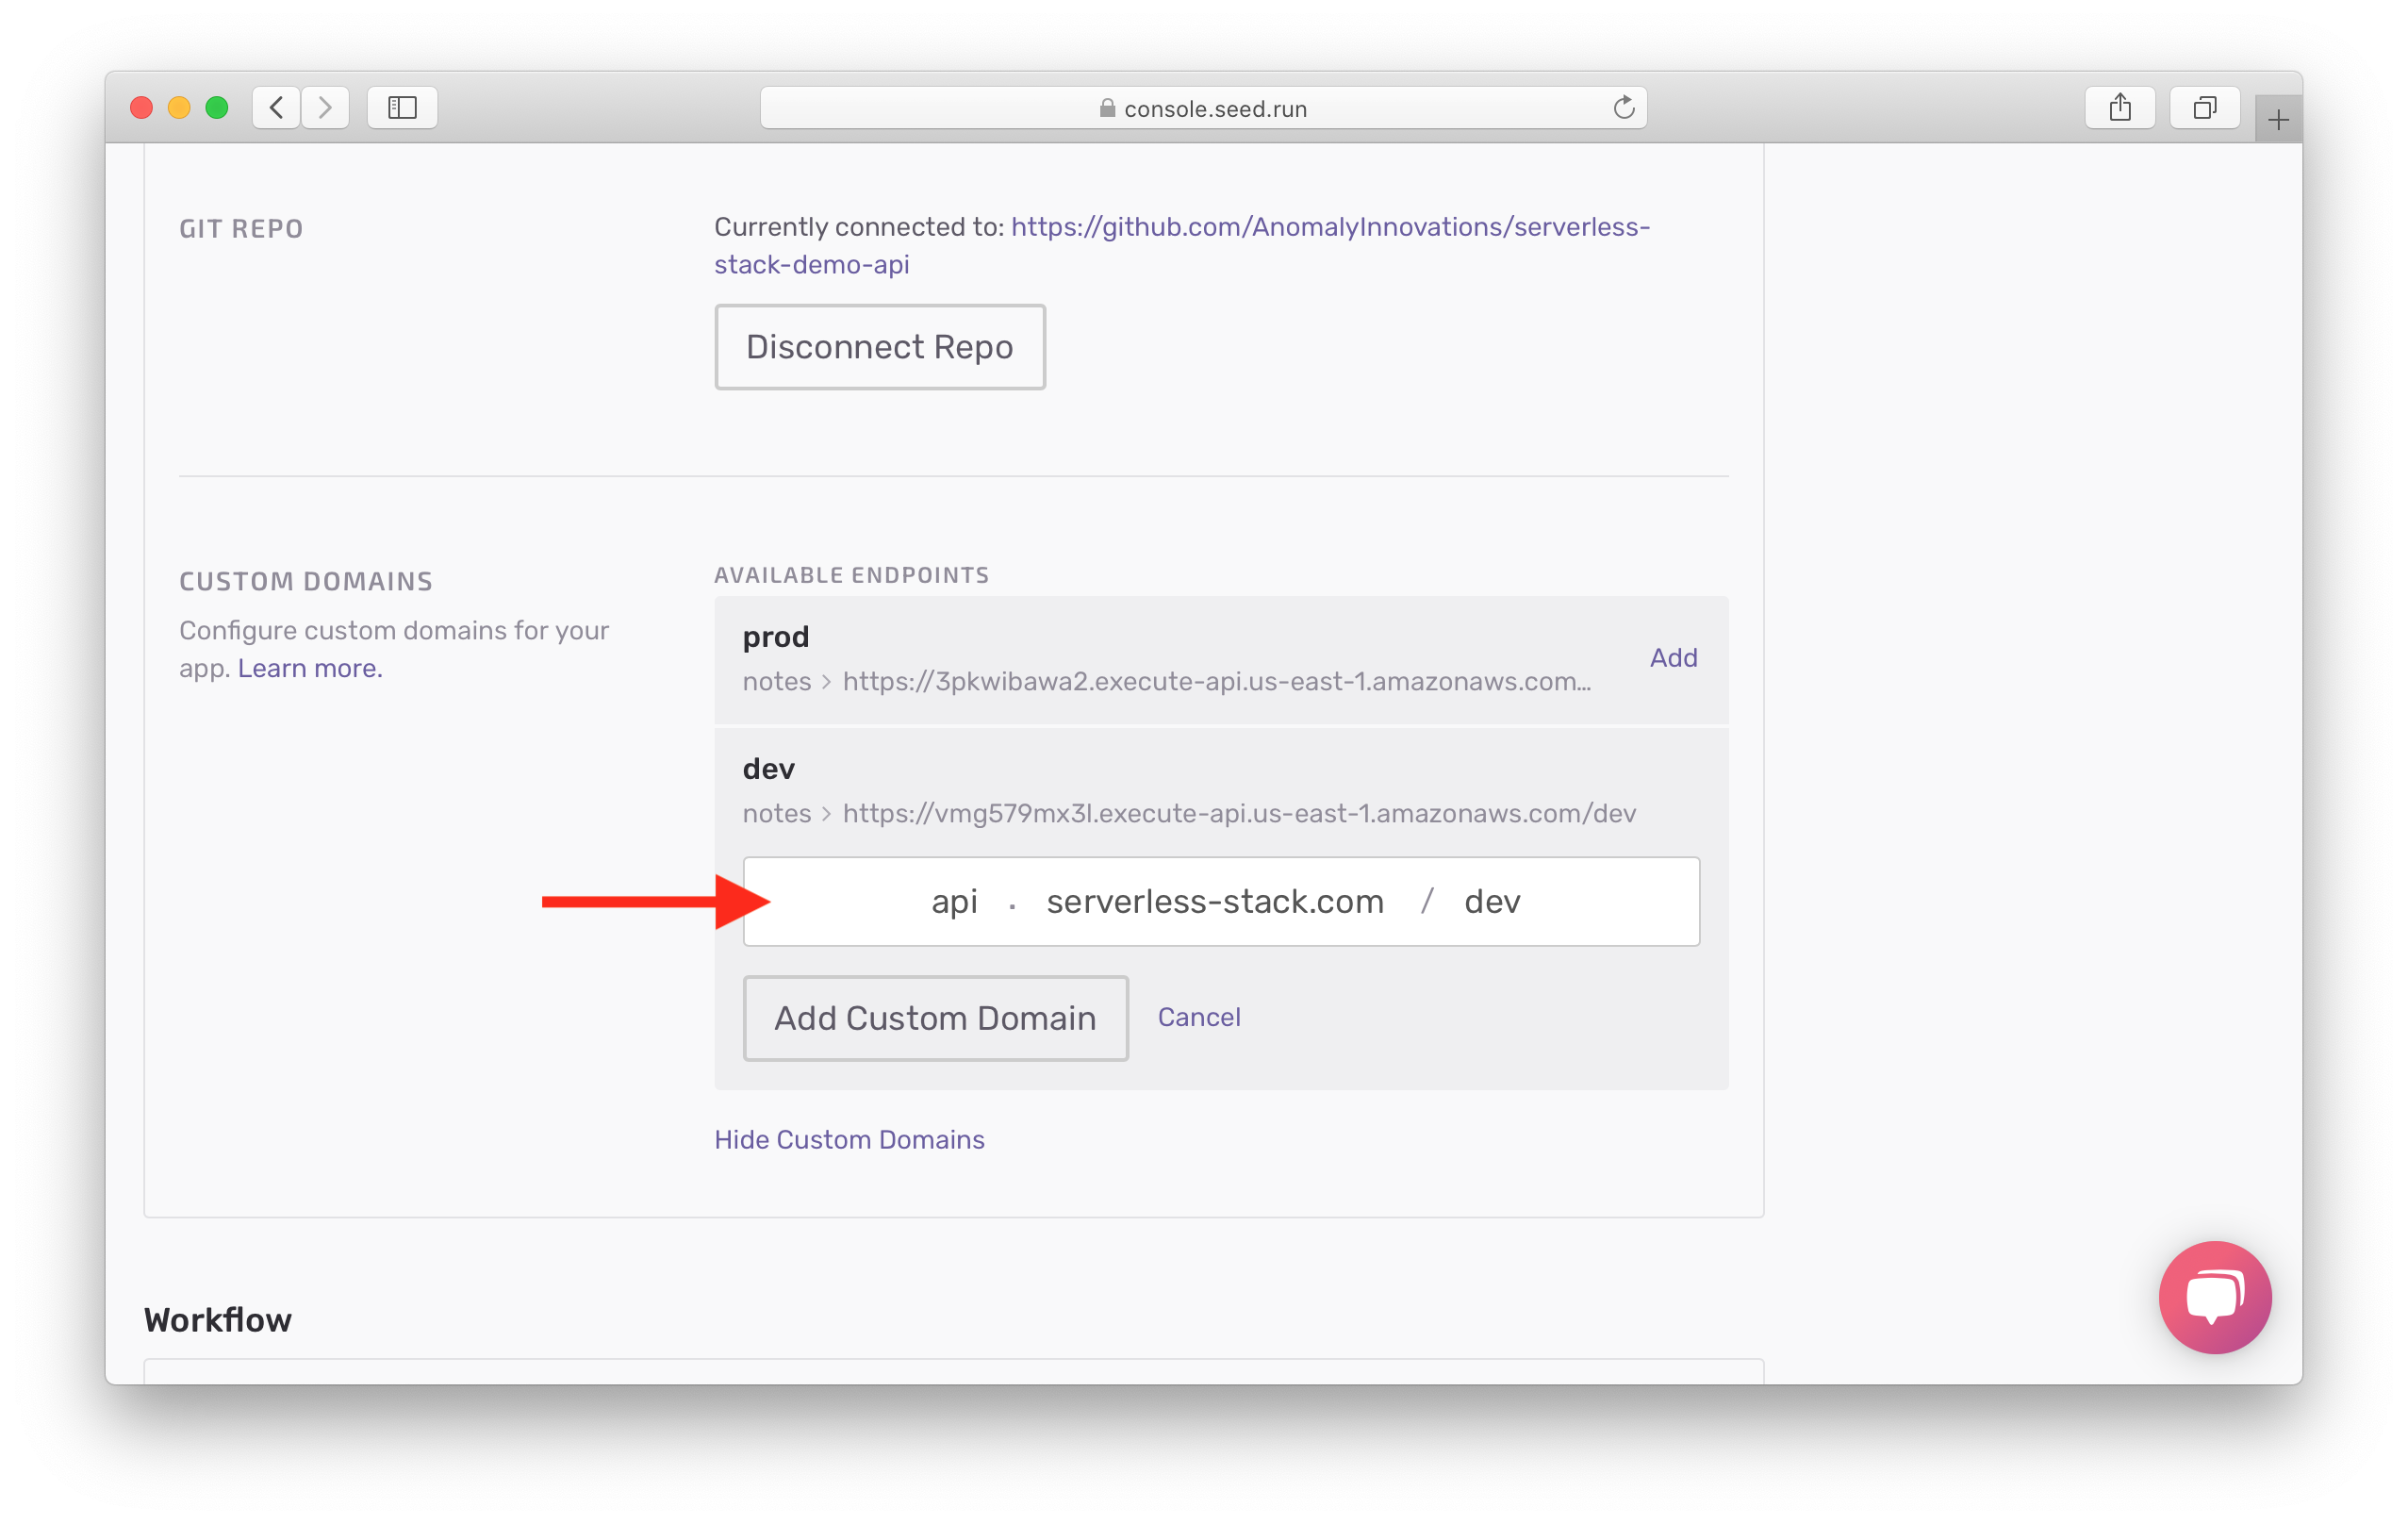
Hit Add Custom Domain and wait for the changes to take place.
Now that we’ve automated our deployments, let’s do a quick test to see what will happen if we make a mistake and push some faulty code to production.
For help and discussion
Comments on this chapter